How to build travel assistant using OpenAI and FlowiseAI
Here in this article we will try to build a travel assistant using OpenAI SDK and also using Flowise AI an Open source generative AI development platform for building AI agents.
Test Environment
- OpenAI SDK 2.8.1
- OpenAI agents 0.6.1
- Flowise AI 3.0.11
What is OpenAI
OpenAI is an AI research and deployment company that creates advanced AI systems, like the GPT models and ChatGPT, with the mission of ensuring that artificial general intelligence benefits all of humanity. It provides tools for developers and businesses through its API, develops consumer-facing products like ChatGPT, and conducts research into AI safety and alignment.
What is Flowise AI
Flowise is an open-source, low-code platform that lets users build custom AI applications, like chatbots and multi-agent systems, using a visual, drag-and-drop interface. It simplifies the process of creating complex workflows by wrapping the functionality of libraries like LangChain into visual building blocks, allowing users to connect different components without writing code.
If you are interested in watching the video. Here is the YouTube video on the same step by step procedure outlined below.
Procedure
Step1: Install OpenAI packages
As a first step we need to install the OpenAI and OpenAI Agents SDK package as shown below.
admin@fedser:openai$ pip install openai
admin@fedser:openai$ pip install openai-agents      # for agent builds
Step2: Set OpenAI API key as environment variable
In this step, first you need to register and generate an API key for usage using “Developer quickstart“.
Let’s now set the OPEN_API_KEY as an environment variable as shown below.
admin@fedser:openai$ cat ~/.bashrc | grep -i openai
## OpenAI key
export OPENAI_API_KEY="your_openai_api_key"
Step3: Build a Travel Assistant using Open AI SDK
Here is our sample python application which can act as our “Travel assistant” agent as shown below.
admin@fedser:flowise$ cat travelassistant.py
from openai import OpenAI
client = OpenAI()

response = client.responses.create(
    model = "gpt-5-nano",
    input = [
        {"role": "system", "content": "You are a helpful travel assistant."},
        {"role": "user", "content": "Suggest a 4-day itinerary for a trip to Kerala, focusing on beach locations and hill stations "}
    ]
)

print(response.output_text)
Step4: Run the Travel Assistant agent
Now let’s run our travelassistant.py file and see the response from the OpenAI LLM model.
admin@fedser:openai$ python travelassistant.py
Here’s a compact 4-day Kerala itinerary that balances two of the state’s best hill stations with its most relaxed beaches.

Day 1 — Coastal start: Kochi and Cherai Beach
- Morning: Arrive at Cochin (Kochi). Start with Fort Kochi – Chinese Fishing Nets, Dutch Palace, St. Francis Church, and the spice markets.
- Afternoon: Drive to Cherai Beach (about 1 hour from Kochi). Relax on the long golden sand, take a dip, or enjoy a short boat ride.
- Evening: Sunset on the beach, fresh seafood at a beachfront cafe.
- Stay: Kochi or Cherai (2 options depending on your preference for city vibe vs. quiet beach).

Day 2 — Hill station 1: Munnar
- Morning: Early departure to Munnar (roughly 4–5 hours by road; scenic climb into the Western Ghats). Check in and freshen up.
- Afternoon: Tea estates and viewpoints. Visit Eravikulam National Park (Rajamalai) for tea-clad hills and, if in season, the Nilgiri Tahr. Optional: Mattupetti Dam or photo stops at famous viewpoints.
- Evening: Stroll through Munnar town, sample local malabar tea and snacks.
- Stay: Munnar (comfortable mid-range or boutique options).

Day 3 — Hill station to Beach: Varkala or Kovalam
- Morning: Quick morning in Munnar (optional early walk among tea bushes) and check out.
- Afternoon: Drive to a beach town on the Kerala coast. Choose:
  - Varkala (about 4–5 hours): Varkala Cliff, Papanasam Beach, laid-back cafés, sunset views.
  - Kovalam (about 4–5 hours): Three beaches in one crescent, lighthouses, easy swimming, waterfront dining.
- Evening: Relax on the beach, sunset at the cliff (Varkala) or the lighthouse area (Kovalam).
- Stay: Beachfront hotel in Varkala or Kovalam.

Day 4 — Beach morning and departure
- Morning: More beach time or a short local activity (kayaking if you’re near Kovalam; a relaxed cliff walk in Varkala). Optional quick visit to Poovar estuary if you’re near Trivandrum and have time for a boat ride.
- Departure: Head to the airport or train station from Trivandrum (if you’re ending near Kovalam/Varkala) or return to Kochi if your flight is there.

Optional variations
- If you’d rather start in Trivandrum: Day 1 start at Ponmudi (short hill-station trip) or Kovalam; Day 2 Varkala; Day 3 travel to Munnar; Day 4 back to Trivandrum for departure. This keeps drives shorter and stays efficient.
- If you want more beach time and less hill time: swap Munnar for Marari Beach (near Alleppey) and keep Kovalam/Varkala as the beach days.
- For a deeper backwater flavor: add a half-day trip to Alleppey from Kochi or Kovalam (depending on your route) to experience a houseboat glide.

Practical tips
- Best time: October–February offers pleasant weather for both beaches and hills. Monsoon (June–Sept) can be heavy; if you don’t mind some rain, it’s lush and quieter.
- Travel pace: Kerala’s roads can be winding and slow; plan 4–5 hours of driving per day with a private driver if possible.
- Getting around: Hire a car with driver or use reputable private taxis. For internal flights, you could do Kochi–Thiruvananthapuram if you’re short on time.
- Where to stay: 3–4 star hotels with sea view or hillside boutique stays in Munnar; mid-range options in Varkala/Kovalam are plentiful.
- What to pack: lightweight clothing, sun protection, a light rain jacket (monsoon or coastal weather), comfortable walking shoes, swimwear, and a basic first-aid kit.

Want me to tailor this to your arrival city (Kochi vs. Trivandrum), travel dates, and budget? Tell me your preferred pace, and I’ll refine the route, timings, and hotel suggestions.
Step5: Setup Flowise AI using docker compose
Here is the very basic docker compose file to instantiate Flowise AI generative ai development platform.
admin@fedser:flowise$ cat docker-compose.yml
services:
  flowise:
    image: flowiseai/flowise:3.0.11
    container_name: flowise
    ports:
      - 3000:3000
    volumes:
      - flowise:/root/.flowise
    networks:
      - flowise-net

volumes:
  flowise:

networks:
  flowise-net:
Now let’s instantiate the flowise service using docker compose as shown below.
admin@fedser:flowise$ docker compose up -d
You can now try to access your Flowise AI portal at the following page.
URL: http://fedser.stack.com:3000/
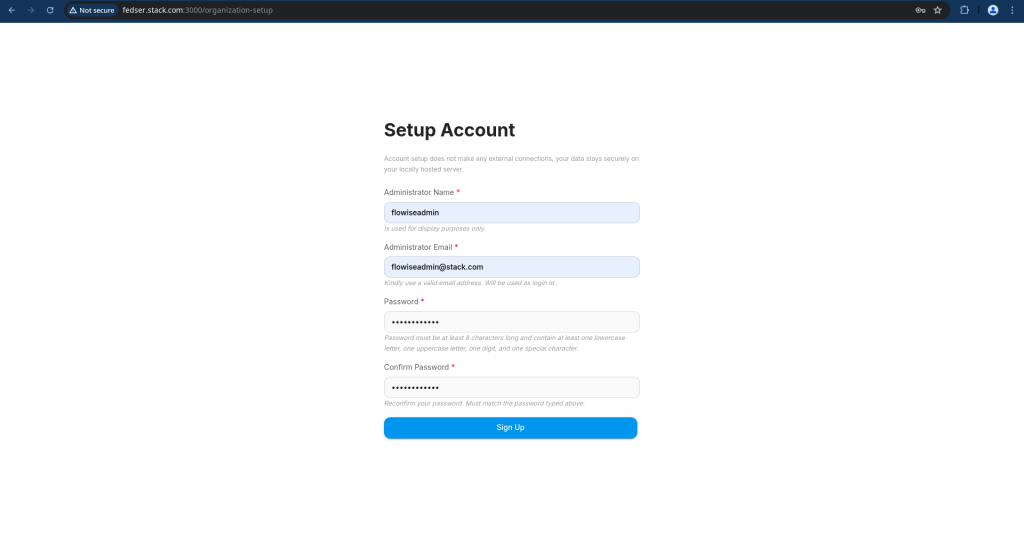
If you trying to access the Flowise AI portal for the first time, you need to setup the administrative account.
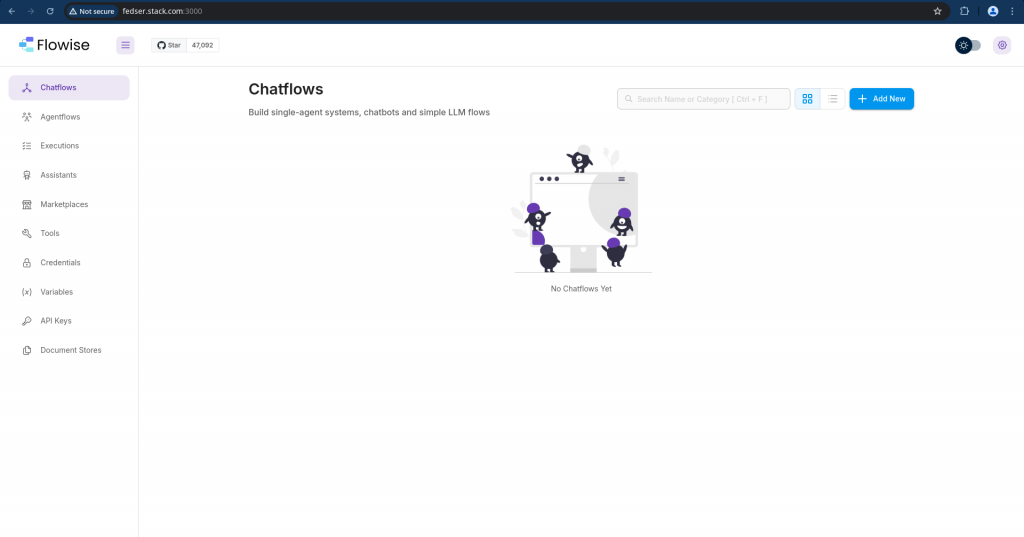
Once you completed the setup, you should be able to see the below home page.
Step6: Add OpenAI API credentials to Flowise
Navigate to Credentials – Add Credentials and search for OpenAI API. Now you can save your OpenAI credentials for later use.

Step7: Create Chat Assistant
Here in this step we are going to create our custom chat assistant using the OpenAI Assistant: “Create assistant using OpenAI assistant API”.
Here are the details which i updated for my Travel assistant.
- OPENAI CREDENTIAL: openai_api_cred
- ASSISTANT MODEL: gpt-4.1-mini
- ASSISTANT NAME: Travel Assistant
- ASSISTANT DESCRIPTION: Travel assistant providing information on Travel destinations and building itinerary packages for the customers
- ASSISTANT ICON SRC: https://api.dicebear.com/7.x/bottts/svg?seed=213bd947-4b2c-49df-8477-4e5b275a6c45
- ASSISTANT INSTRUCTION: You are my Travel assistant. You should helps in providing information about travel destinations and generate custom itenary for the customer based on their input destination. Also you should help with the clothing, food and environment details to customer for their destination.
- ASSISTANT TEMPERATURE: 1
- ASSISTANT TOP P: 1
- ASSISTANT TOOLS: None
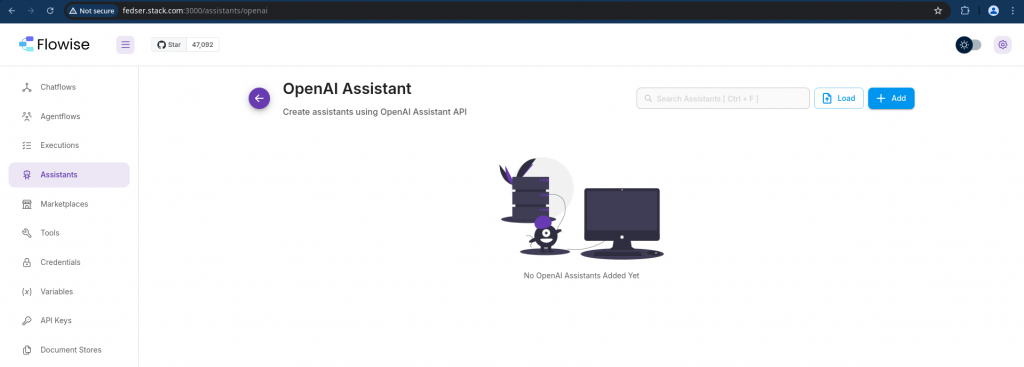
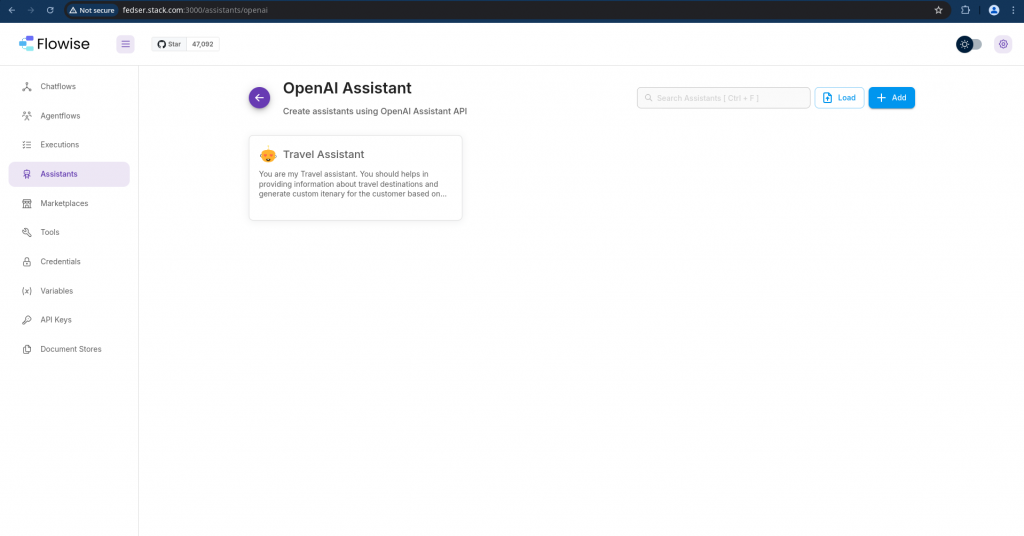
Once you add your custom chat assistant. It should show in the list of OpenAI Assistants as shown below.
Step8: Build a ChatFlow with Travel Assistant
Now its time to use our Travel assistant as a agent by leveraging it in the Single agent Chatflow that we are going to build now.
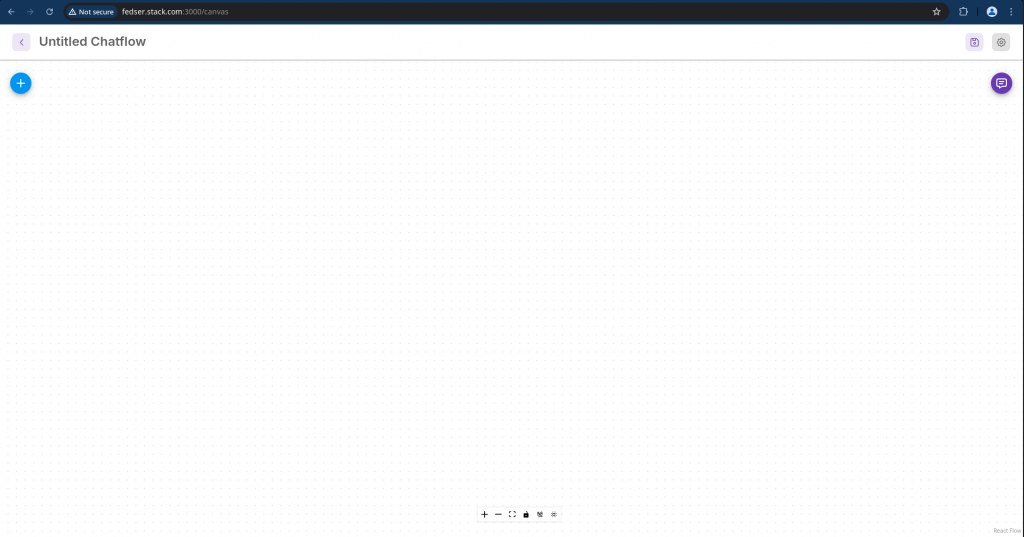
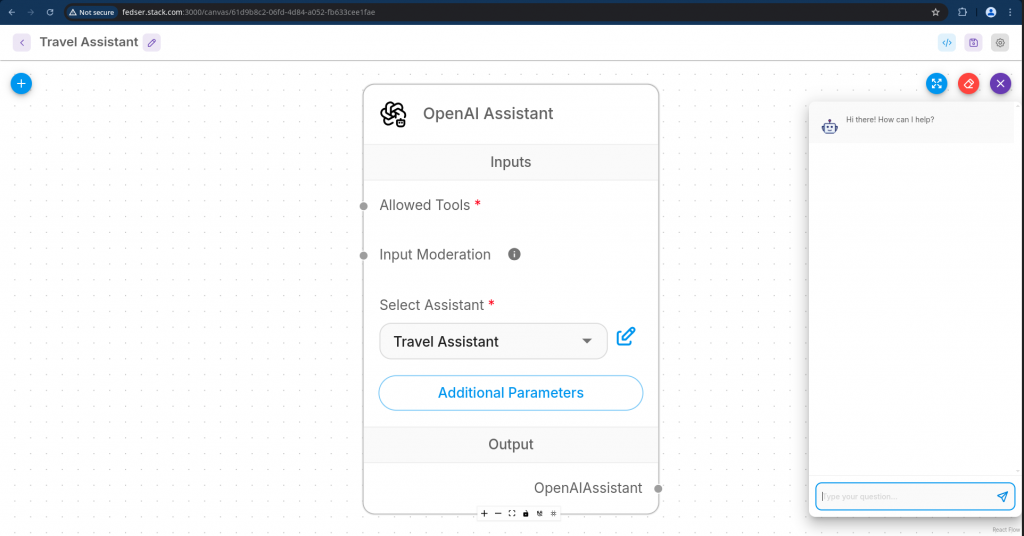
Navigate to Chatflows and Click on Add New, which will take you the Flowise visualization board as shown below.
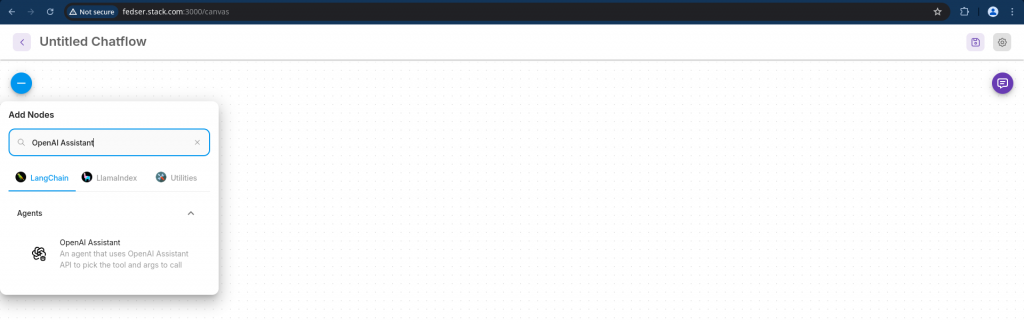
Now, lets add the OpenAI Assistant node by searching as shown below and drag the node onto the board. This agent node will leverage the OpenAI assistant API to provide us with the relevant travel information.
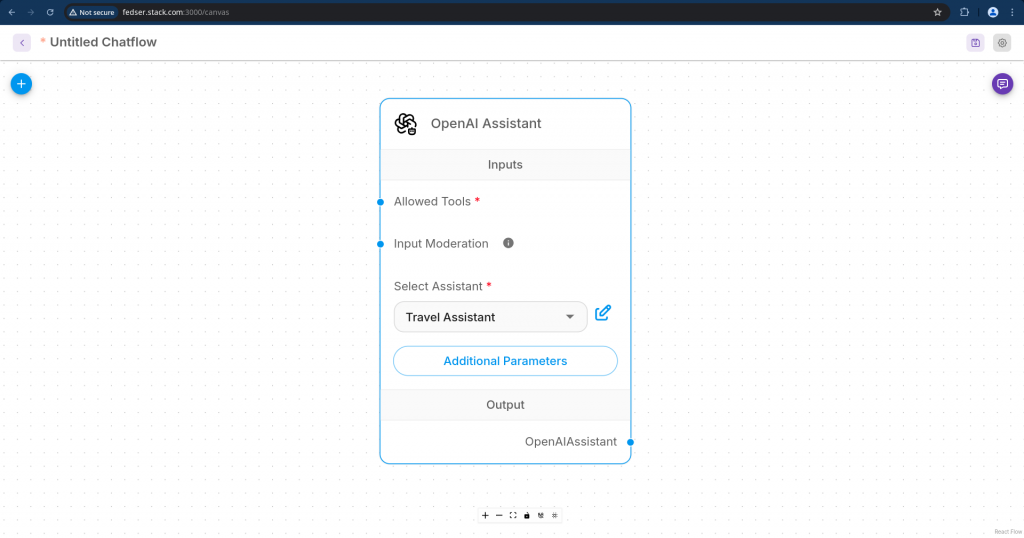
Let’s update the node to use the Travel assistant as shown below.
Once the updates are completed, you can save the chatflow by click on the “save Chatflow” button at the top right corner and provide a name for your assistant as “Travel Assistant”.
Now if you navigate to Chatflows you should be able to see your “Travel assistant” on the Chatflows page.
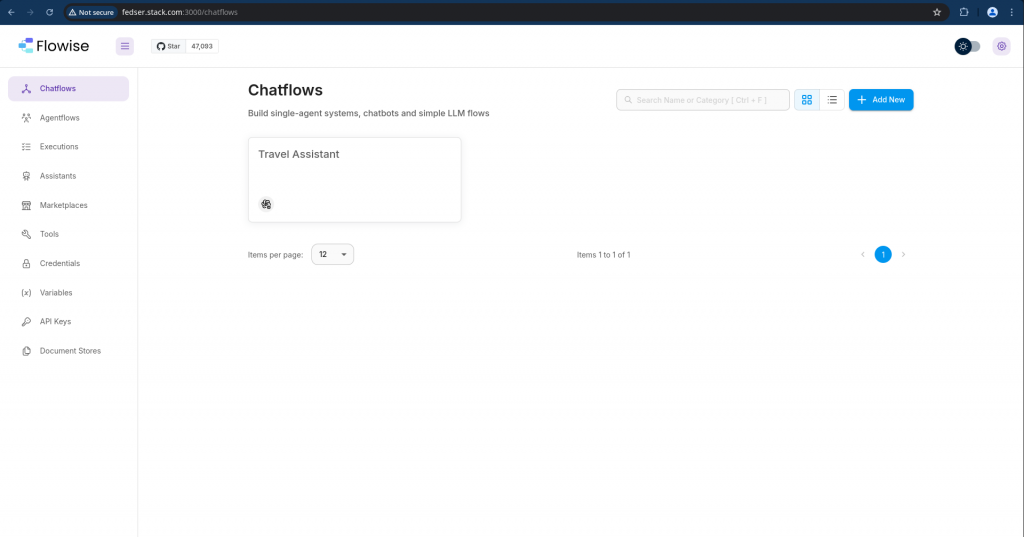
Step9: Validate the Travel Assistant
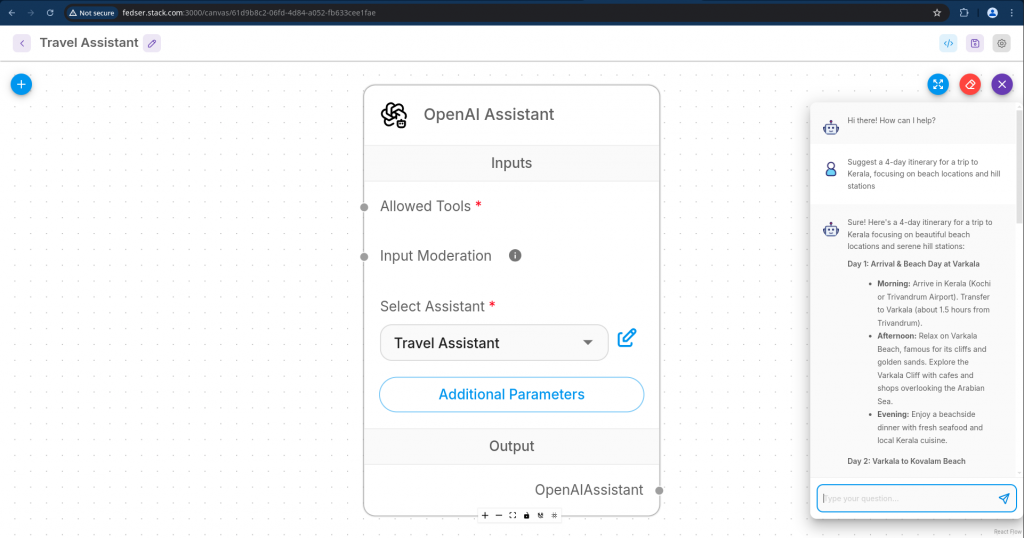
Open your “Travel Assistant” chatflow and click on the chat icon to instantiate the chat flow.
Now its time to ask our “Travel Assistant” agent to “Suggest a 4-day itinerary for a trip to Kerala, focusing on beach locations and hill stations” and it should respond with a “Travel Itenary” as shown below.
Step10: Integrate chat assistant into web application
Now that our chat assistant is ready and responding, let try to integrate it into our single page html file.
First, click on the “API endpoint” on the top right corner of your chatflow and it should show you the source code which can be used to embed it in a HTML page.
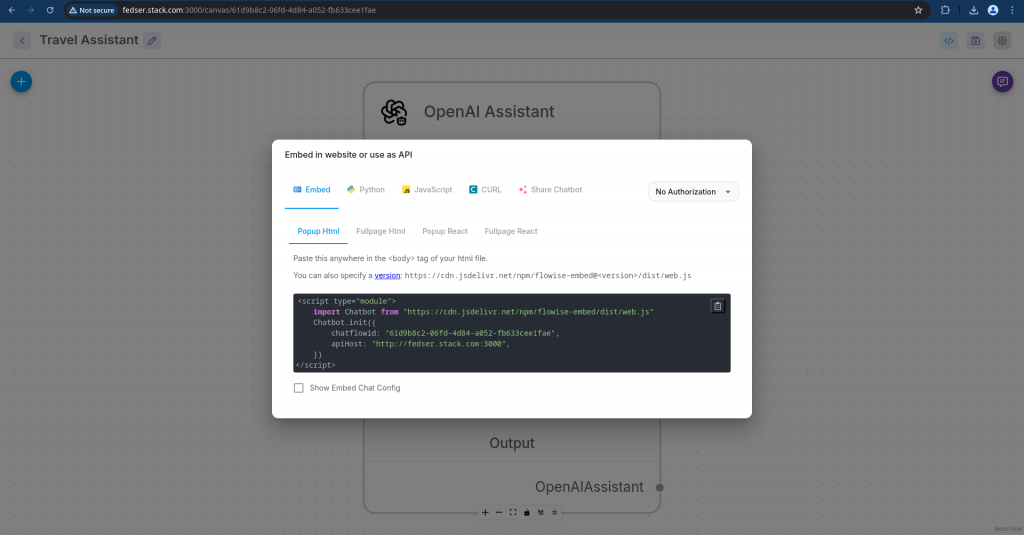
Here is the javascript source code in my case.
<script type="module">
    import Chatbot from "https://cdn.jsdelivr.net/npm/flowise-embed/dist/web.js"
    Chatbot.init({
        chatflowid: "61d9b8c2-06fd-4d84-a052-fb633cee1fae",
        apiHost: "http://fedser.stack.com:3000",
    })
</script>
Here is my sample Single page HTML application using the above chat assistant.
admin@fedser:flowise$ cat index.html
<!doctype html>
<html lang="en">
<head>
  <meta charset="utf-8" />
  <meta name="viewport" content="width=device-width,initial-scale=1" />
  <title>Flowise Chat Assistant</title>
  <style>
    /* Simple full-page layout for the chat assistant */
    html, body { height: 100%; margin: 0; font-family: system-ui, -apple-system, "Segoe UI", Roboto, "Helvetica Neue", Arial; }
    #chat-container { height: 100vh; display: flex; align-items: stretch; justify-content: center; background:#f6f7fb; }
    /* Let the embed take reasonable width on large screens */
    .chat-embed { width: 100%; max-width: 900px; height: 100%; box-shadow: 0 8px 24px rgba(15,23,42,0.08); border-radius: 8px; overflow: hidden; background: white; }
  </style>
</head>
<body>
  <div id="chat-container">
    <div id="flowise-chat" class="chat-embed" role="region" aria-label="Chat assistant"></div>
  </div>

  <!-- The script you provided embedded as the chat assistant -->
  <script type="module">
    import Chatbot from "https://cdn.jsdelivr.net/npm/flowise-embed/dist/web.js"
    Chatbot.init({
        chatflowid: "61d9b8c2-06fd-4d84-a052-fb633cee1fae",
        apiHost: "http://fedser.stack.com:3000",
    })
  </script>
</body>
</html>
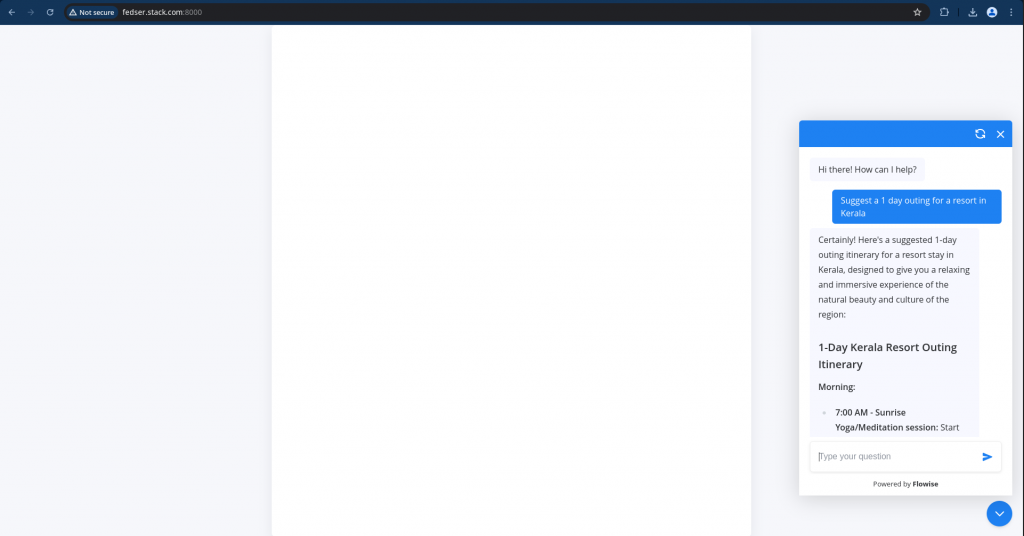
Let me now try to launch my single page application using Python HTTP server as shown below.
admin@fedser:flowise$ python -m http.server -d .
Serving HTTP on 0.0.0.0 port 8000 (http://0.0.0.0:8000/) ...
Hope you enjoyed reading this article. Thank you..
Leave a Reply
You must be logged in to post a comment.