How to use Godot TileMap to build a Road Track
Here in this article we will how we can use Tilemap to build a Road Track or Layout in Godot Engine. Tilemap make it easy to build a complete level or scene with Texture and Collision detection applied. Its similar to what we can achieve with Sprite or StaticBody2D nodes but Tilemap provides greater flexibility in selection the Tiles from the Tilesheet and applying them to our game scene by just click and drag feature.
Test Environment
Fedora Workstation 35
Godot 3.5
For this article we are going to use the road assets provide by – Kenny. Thanks to his wonderful efforts in making these amazing tile sheets for the game development.
Procedure
Step1: Download the Road Texture assets from kenney.nl
As a first step let’s download the road texture assets from the below link provided by kenney and extract the content.
URL – https://www.kenney.nl/assets/road-textures
[admin@fedser Downloads]$ ls -ltr kenney_roadtextures_2.zip
-rw-r--r--. 1 admin admin 514391 Aug 26 00:18 kenney_roadtextures_2.zip

[admin@fedser Downloads]$ mkdir road_assets;cd road_assets

[admin@fedser road_assets]$ unzip /home/admin/Downloads/kenney_roadtextures_2.zip -d .

[admin@fedser road_assets]$ ls -ltr
total 64
-rw-r--r--. 1 admin admin    55 Nov 29  2018 Patreon.url
-rw-r--r--. 1 admin admin    45 Nov 29  2018 Kenney.url
-rw-r--r--. 1 admin admin   639 Nov 23  2019 License.txt
drwxr-xr-x. 2 admin admin  4096 Nov 23  2019 Tilesheet
drwxr-xr-x. 3 admin admin  4096 Nov 23  2019 Legacy
drwxr-xr-x. 2 admin admin  4096 Nov 23  2019 Vector
drwxr-xr-x. 4 admin admin  4096 Nov 23  2019 PNG
-rw-r--r--. 1 admin admin 34357 Nov 23  2019 Preview.png
From these extracted files we will be using the file from Tilesheet folder to build our Road map or layout for our game.
Step2: Launch Godot Application and Create a new Project
Launch your Godot Application. Please refer to my previous blog on how-to-install-and-launch-a-hide-penguin-project-in-godot. Once the Godot Project Manager UI is launched create a new project named RoadMap as shown below.
[admin@fedser godot]$ ./Godot_v3.5-stable_x11.64
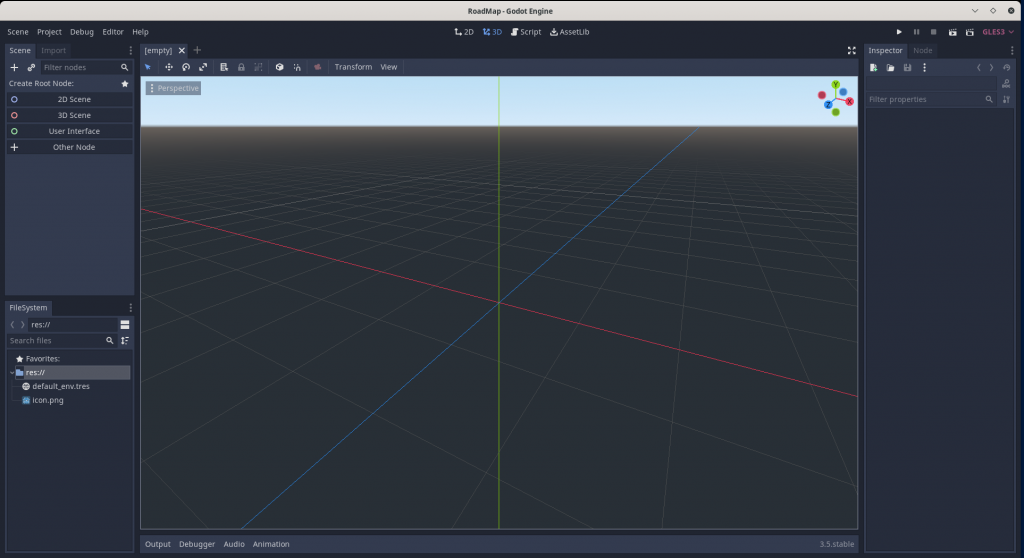
Step3: Create a 2D Node Scene named RoadMap
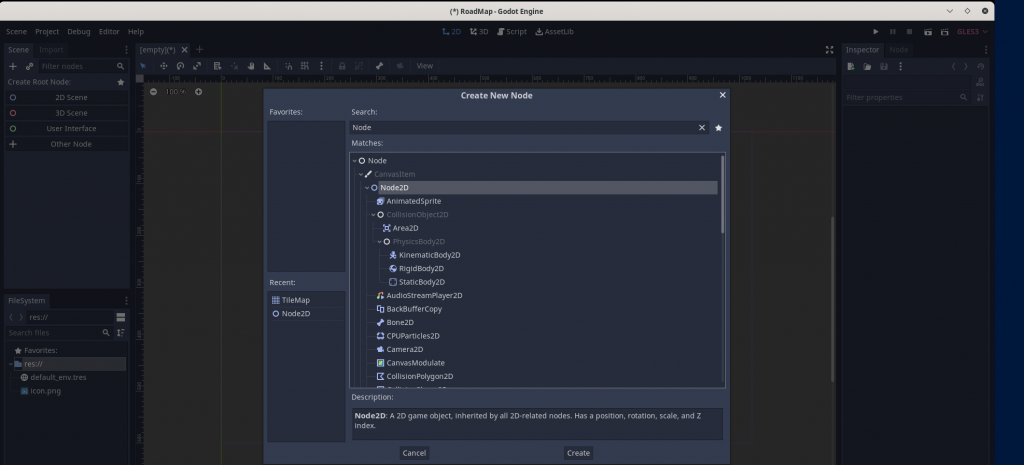
In this empty project that we launched we will first create a 2D Node as our root node under which we will add two TileMap Nodes as shown below. So lets first add the 2D Node by clicking on the ‘+’ symbol in the Scene Dock, search for Node2D in the popup window and create 2DNode. Name the 2DNode as RoadMap by double clicking on the Node2D in Scene dock.

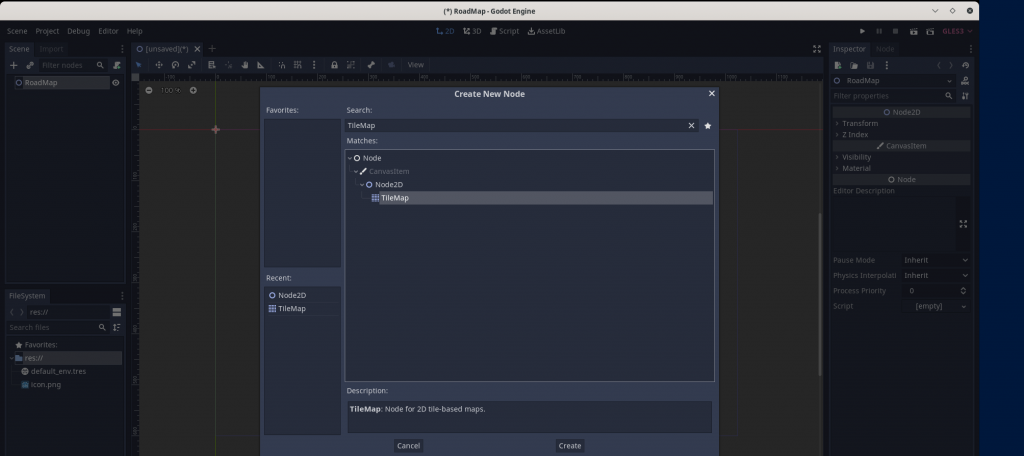
Step4: Create two child TileMap Node under RoadMap
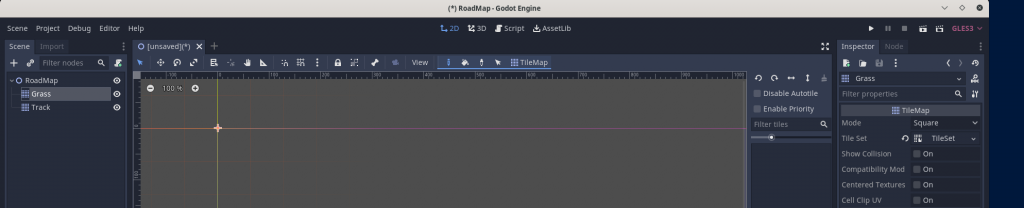
Here we are going to create two child nodes under RoadMap named ‘Grass’ and ‘Track’ as shown below. Follow the same procedure as in Step3 to add a node but make sure you are adding the node as child node of RoadMap.
Here is how it should look once you created two TileMap Nodes under RoadMap named ‘Grass’ and ‘Track’.

Step5: Load TileSheet using the TileSet Resource of TileMap
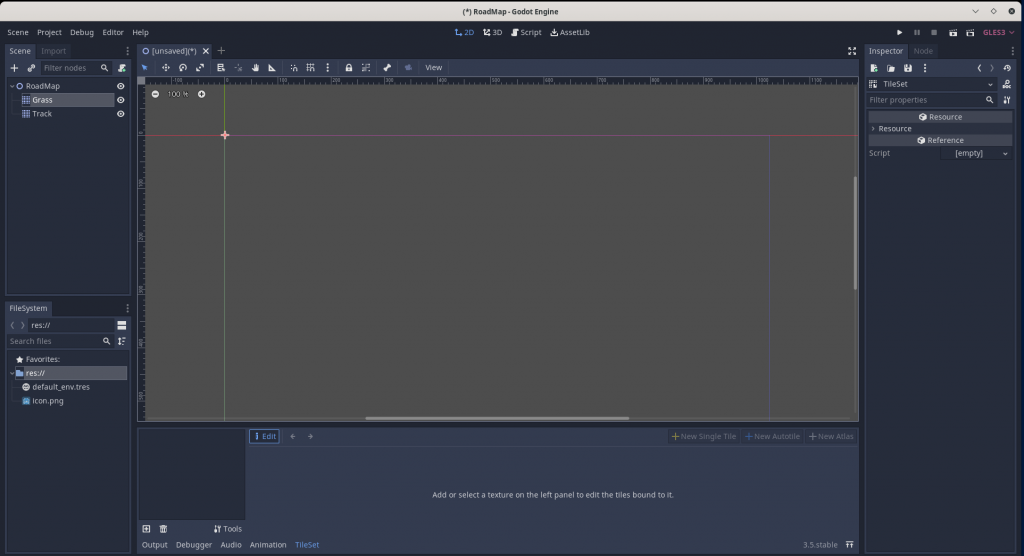
In this step we need to load the Tilesheet that we download and populate it in the TileSet resource as shown below. For this Click on ‘Grass’ TileMap in Scene Dock and in the Inspector Dock in the TileSet proprety – Create a new TileSet as shown below.
Now we need to click on the TileSet value to open the TileSet Editor which open at the bottom as shonw below. You can resize it as per your requirement.
In the TileSet Editor at the bottom, Click on the ‘+’ button to load the Tilesheet. Here we are going to load the below TileSheet. For this first we will copy this TileSheet to our project root directory as shown below.
[admin@fedser godot]$ ls -ltr /home/admin/Downloads/road_assets/Tilesheet/roadTextures_tilesheet@2.png
-rw-r--r--. 1 admin admin 42106 Nov 23  2019 /home/admin/Downloads/road_assets/Tilesheet/roadTextures_tilesheet@2.png
This is my Godot Project root directory where i will copy the Tilesheet.
[admin@fedser RoadMap]$ pwd
/home/admin/middleware/stack/development/godot_games/RoadMap
[admin@fedser RoadMap]$ ls -ltr
total 16
-rw-r--r--. 1 admin admin 3305 Sep  7 09:09 icon.png
-rw-r--r--. 1 admin admin  163 Sep  7 09:09 default_env.tres
-rw-r--r--. 1 admin admin  674 Sep  7 09:09 icon.png.import
-rw-r--r--. 1 admin admin  501 Sep  7 09:09 project.godot

[admin@fedser RoadMap]$ cp /home/admin/Downloads/road_assets/Tilesheet/roadTextures_tilesheet@2.png .
Now, if you check the Filesystem Dock in the Godot Editor you should be able to see this file. We can now load this Tilesheet as shown below.
Step6: Create a New Single Tile for Grass TileMap Node
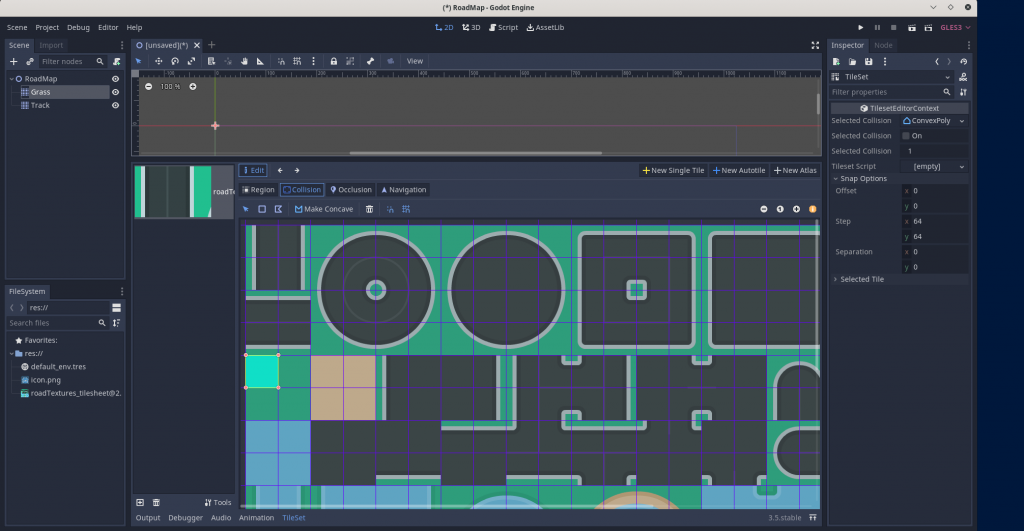
In this step we are going capture a single tile from the Tilesheet by clicking on the “New Single Tile” and selecting the grass section as shown below. Make sure you have Enable snap enabled so you can view the grid as its easy to select the tile in grid view.
Also click on the Collision tab and select the rectangle as the Collision area to apply to the Grass tile that we selected initially. This make sure that the Grass Tile that we selected can detect any collision with it by any other Node.
Now Click on the Grass TileMap Node and you should be able to see the Grass Tile that you selected in the Right side of the viewport region as shown below.
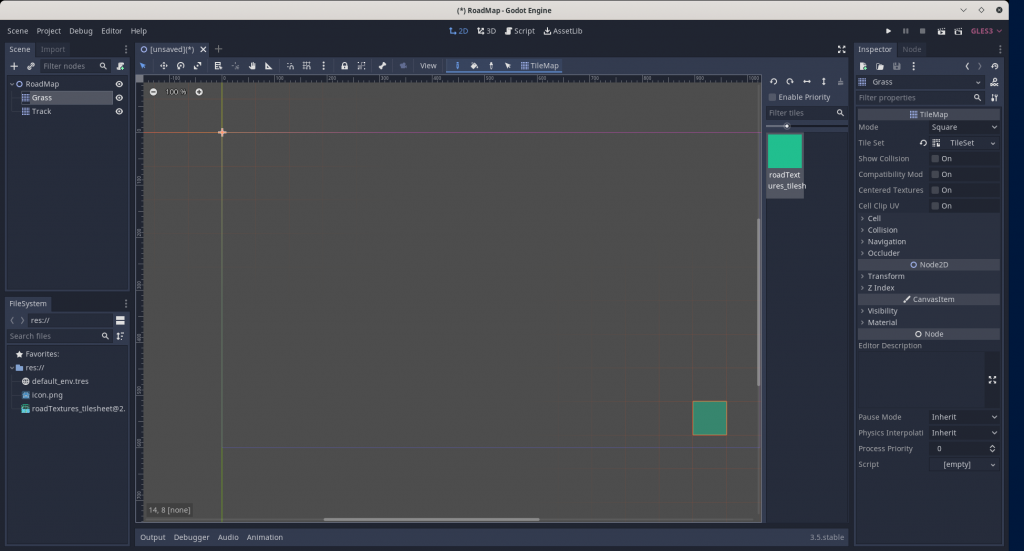
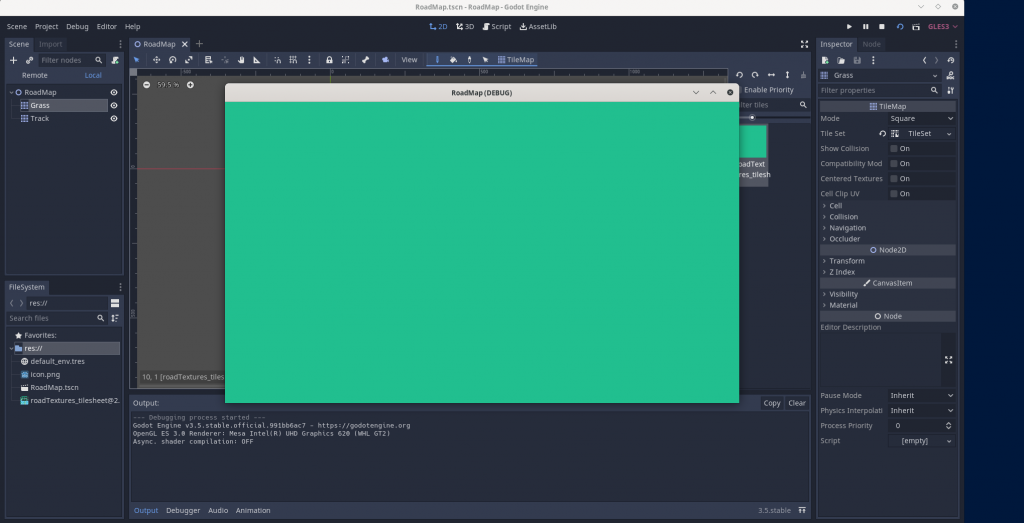
Now we can apply the Grass Tile in our completed Window region for our Game as shown below clicking on the right mouse button and dragging. If you want to remove any tile that you applied just left click on that particular tile location and it will be removed.

Once the Tile is applied you click on the Play Scene button at the Top right corner in the main menu and save the scene as RoadMap and launch the scene. It should look something like this in the launched window.
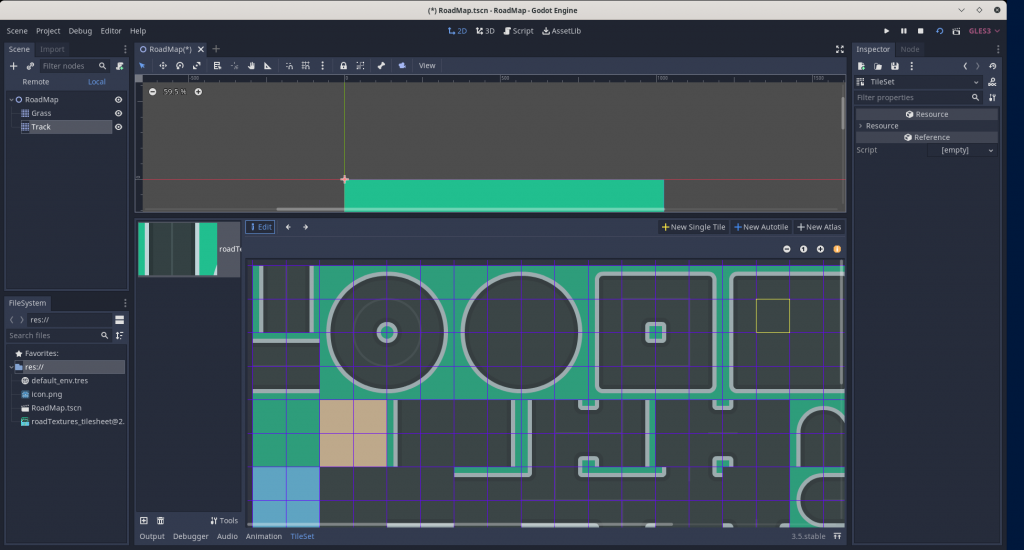
Step7: Create a New Single Tile for Track TileMap Node
We need to follow the similar procedure as shown in the above step but this we are not going to apply the collision shape to our road tile that we are going to select.
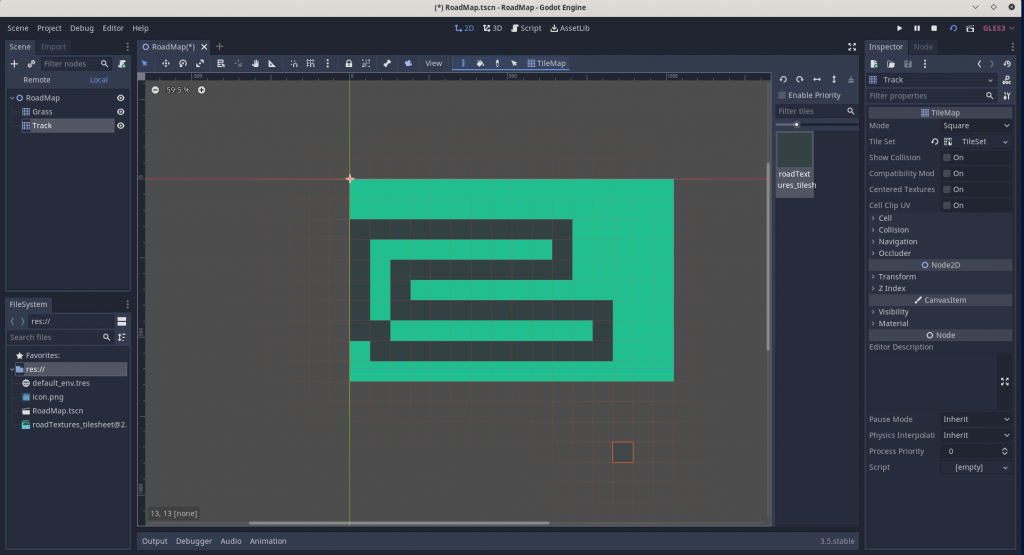
Once the Tile is selected you can go the Track Node and apply the Tile on top of the Grass Layer that you applied as the first TileMap as shown below.
Now click on the Play Scene button at the Top right corner in the main menu and save the scene as Track and launch the scene. It should look something like this in the launched window.
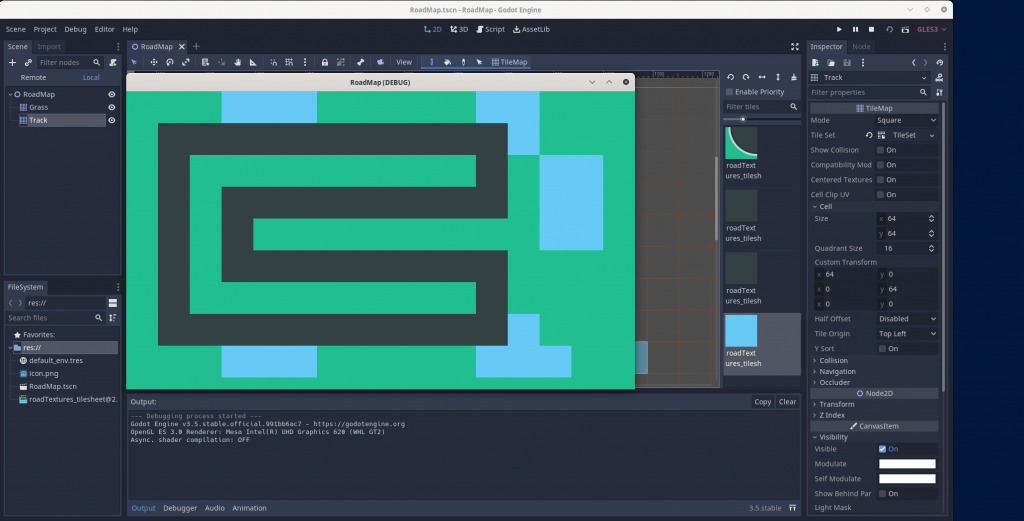
Additionally i have taken some water tiles and applied to the sides of the road track which you can give a try yourself.
We have our Road Track ready for our game. This is how you can use TileMap and make it easy for building you Game Layout.
Hope you enjoyed reading this article. Thank you..
Leave a Reply
You must be logged in to post a comment.