How to install and Launch a Hide Penguin Project in Godot
Here in this article we will how we can install Godot Game Engine and Create a Simple Project. Godot games are built on the concept of Nodes which can consist of child nodes to form a Game Scene. These scenes can further to part of other Primary Scenes as Child nodes. It basically consist Nodes in Tree structure to form the Game Scene.
Test Environment
Fedora 35 workstation
Godot 3.5 engine
What is Godot
Godot is a free and open source community-driven 2D and 3D game engine. It provides us with powerful and user-friendly tools which help in developing any kind of game, for any platform and with no usage restrictions.
If you are interested in watching the video. Here is the YouTube video on the same step by step procedure outlined below.
Procedure
Step1: Download Godot Game Engine
As i am currently working on Fedora 35 workstation i am going to download the Godot Engine package for Linux Platform. On the Godot Download Page under the Linux tab we can download the Standard version x86_64 64bit which basically download the following zip package. The Godot Engine 3.5 is the current stable version provided as of this writing.
Here i have created a godot folder and kept my download godot engine package as shown below.
[admin@fedser godot]$ ls -ltr Godot_v3.5-stable_x11.64.zip
-rw-r--r--. 1 admin admin 39531508 Aug 11 17:03 Godot_v3.5-stable_x11.64.zip
We need to extract this Godot Engine package. Here i have extracted it at the same location.
admin@fedser godot]$ unzip ./Godot_v3.5-stable_x11.64.zip
[admin@fedser godot]$ ls -ltr
total 76980
-rwxr-xr-x. 1 admin admin 78821448 Aug  5 13:35 Godot_v3.5-stable_x11.64
Step2: Launch Godot Engine
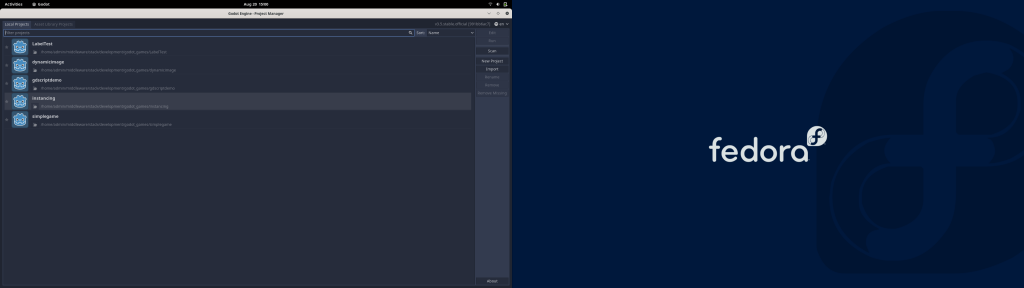
Now we can launch the Godot Engine as shown below which will launch the GUI Interface for Godot Project Management. Here is the screenshot below. As i have already created some project it shows me the list of project but if this is the first time you will get a pop window to create or import a new project.
[admin@fedser godot]$ ./Godot_v3.5-stable_x11.64
Step3: Create a New Project
Here i am going to create a new project by clicking on the New Project on right side of the Project Manager Window which will pop up the Create New Project Window as shown below.
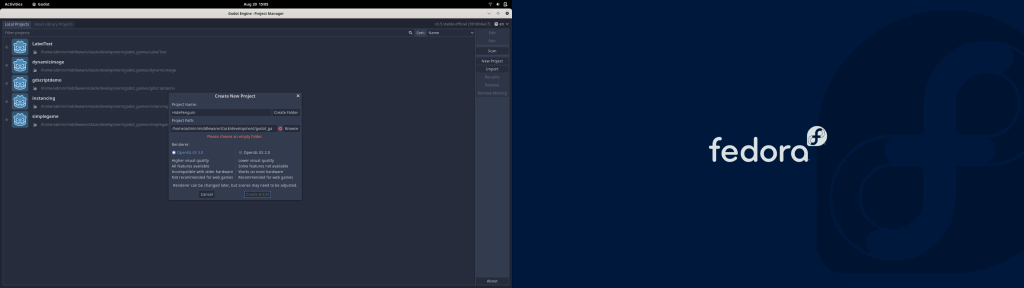
I am creating a project named HidePenguin – Hit Create Folder so it creates this name folder in whatever Project Path you selected for storing the Project and Click on Create and Edit to start working on your Godot Project.
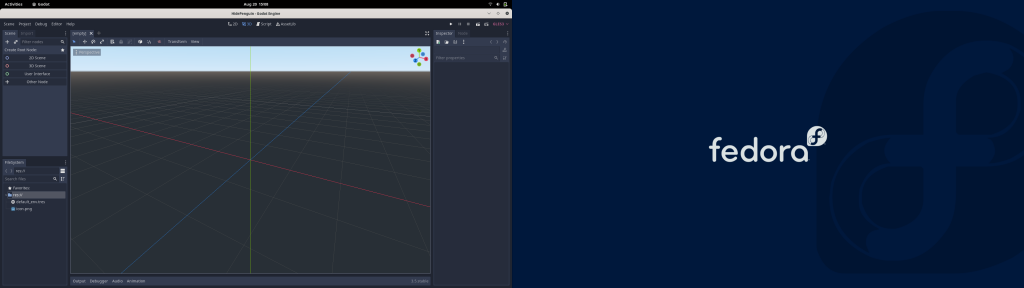
Step4: Create a Scene using Node2D node
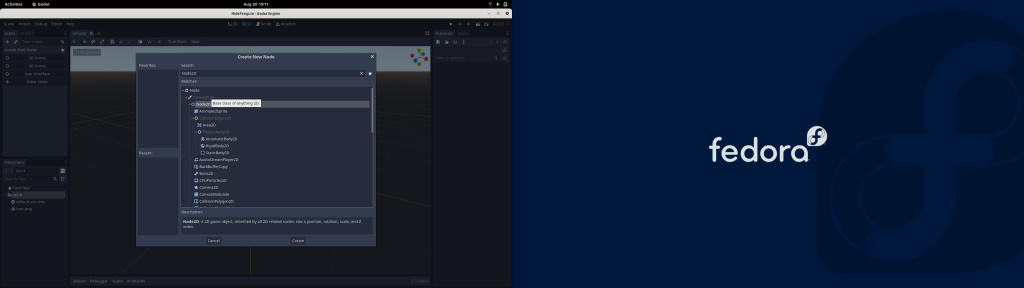
As a first step let’s create our first scene which will be a Node2D node object by clicking on the “+” in the Scene Dock section which will pop a window “Create New Node”. Let’s search Node2D and click on Create button. Once create we will now enter into the viewport in 2D Context mode.
Step5: Create a Sprite a Node2D Child
Let’s now create Sprite as a Child node of our Node2D Node. This sprite node is basically the Pengiun Character which we want to add to the Root Node ie Node2D. Download these Pengiun images and copy into Godot Project directory as shown below. So, here is my directory structure of the project after copying the image files.
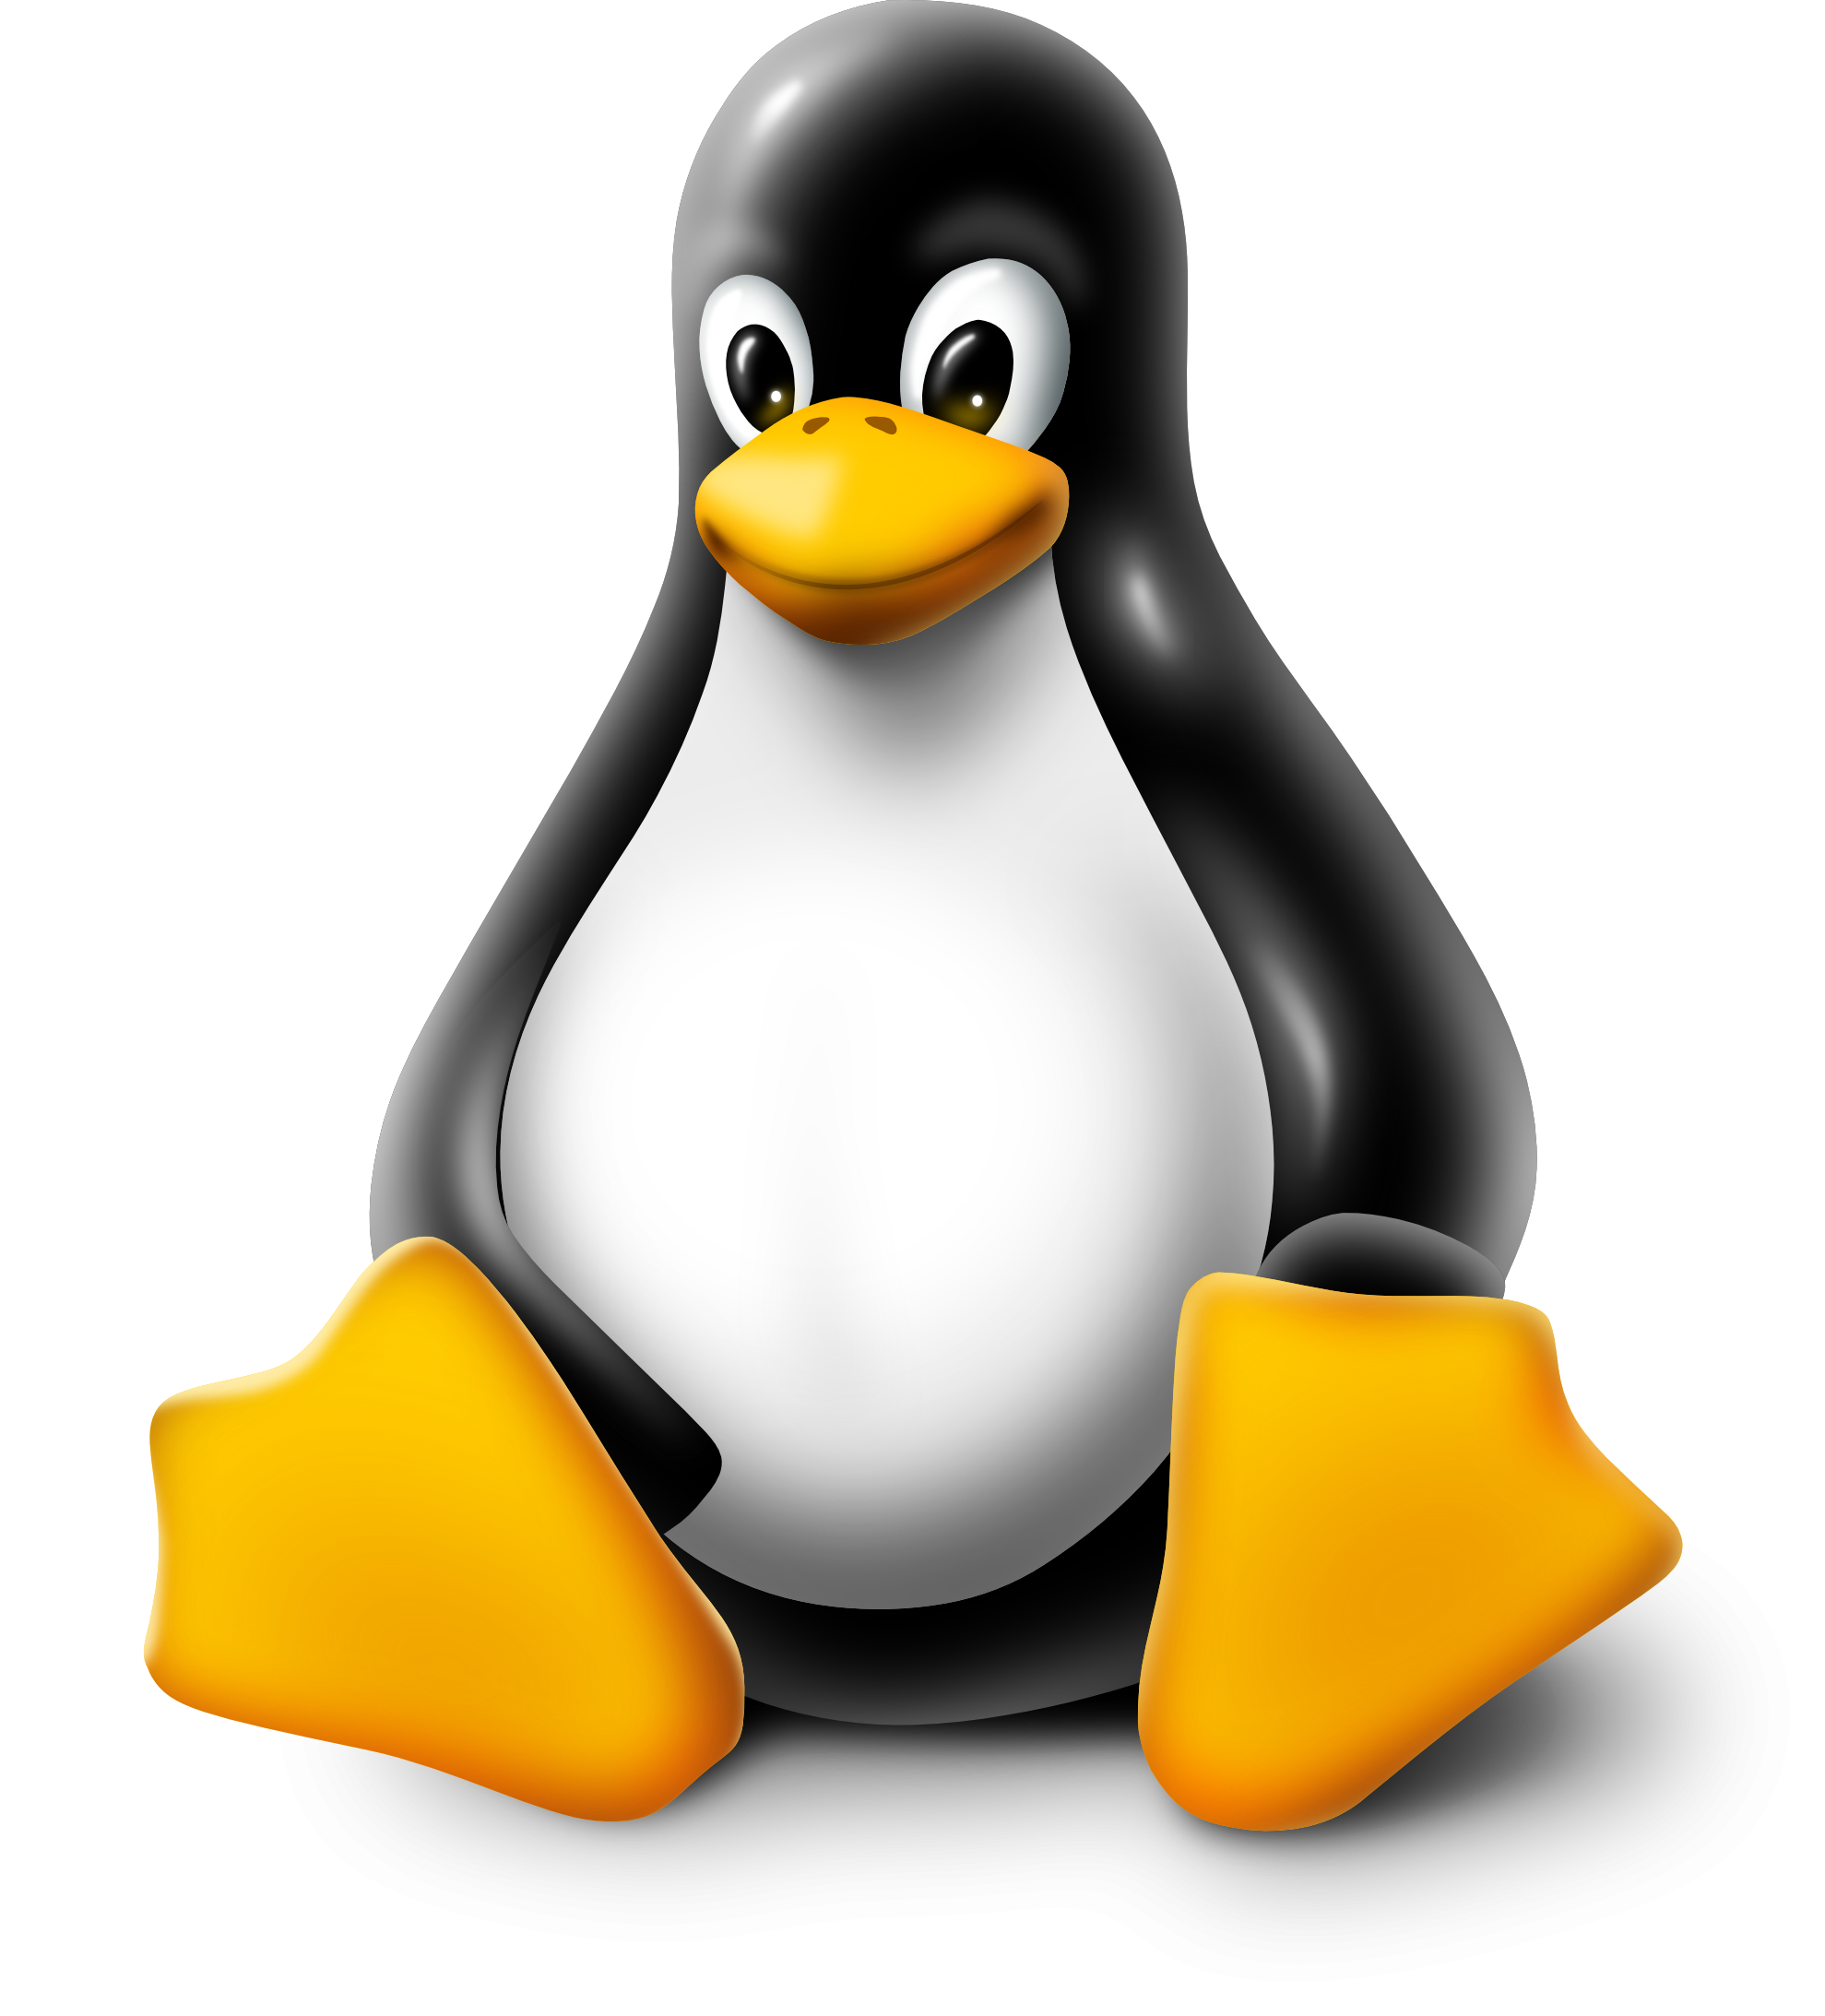
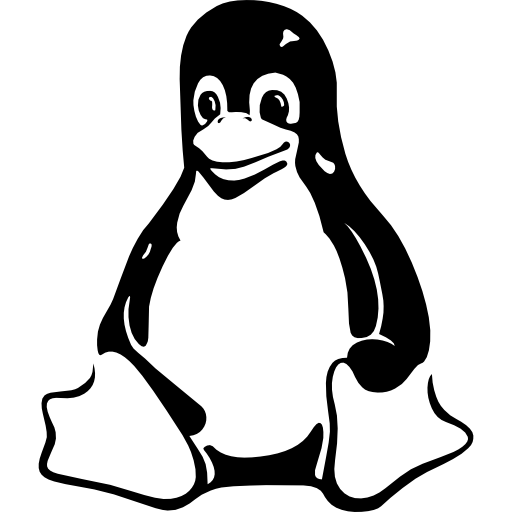
admin@fedser HidePenguin]$ ls -ltr
total 840
-rw-r--r--. 1 admin admin   3305 Aug 20 15:07 icon.png
-rw-r--r--. 1 admin admin    163 Aug 20 15:07 default_env.tres
-rw-r--r--. 1 admin admin    674 Aug 20 15:07 icon.png.import
-rw-r--r--. 1 admin admin    505 Aug 20 15:07 project.godot
-rw-r--r--. 1 admin admin    698 Aug 20 15:16 penguin_gray.png.import
-rw-r--r--. 1 admin admin  13651 Aug 20 15:16 penguin_gray.png
-rw-r--r--. 1 admin admin    679 Aug 20 15:16 penguin.png.import
-rw-r--r--. 1 admin admin 817105 Aug 20 15:16 penguin.png
Now from the Project Manager interface we need to drag the penguin_gray.png file from filesystem dock and place it Sprite – Texture property to provide our Sprite a Penguin representation as shown below and move the Penguin to the center of the viewport as shown below.
Step6: Add Button as Node2D Child
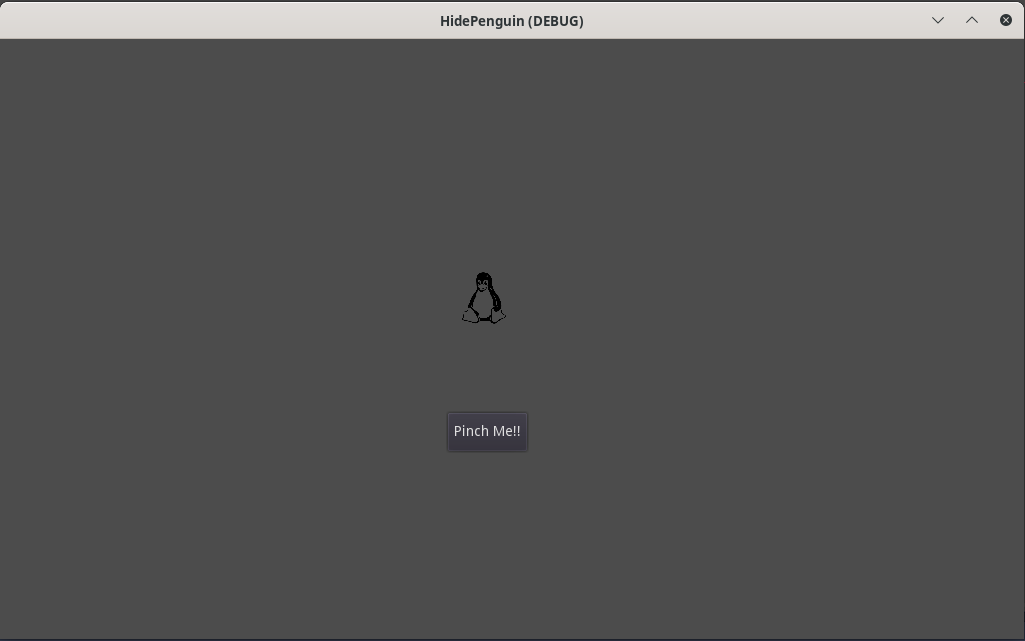
Now let’s add a button node as a child of Node2D and move it such that its at the bottom of our Penguin image and provide a Text value to our button as “Pinch Me!!” as shown below.
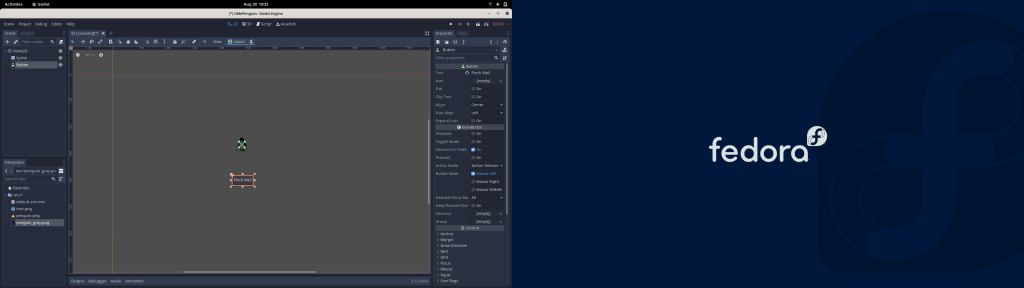
Let’s now launch our scene by clicking on Play Scene Button at the Top right corner. If you haven’t saved your scene yet it will ask to save the scene before it is launched.

Now we ready with our screen which consist of a Gray Color Penguin and a Button but we have’t bind any action to our button yet. Here is the godot scene screenshot as shown below.
Step7: Bind Button event with a Function
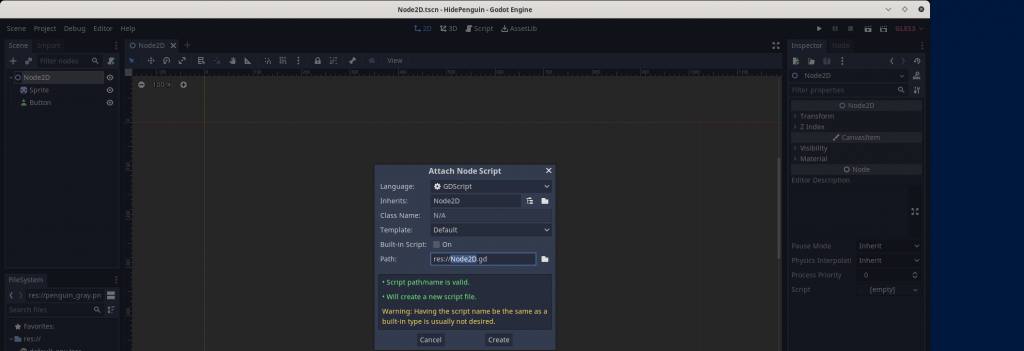
First we need to attach a script to our Node2D node by clicking on the Attach the Script to Node2D in the Scene Dock section. Click on the Create button without changing any default vaules. This will create a script named Node2D.gd. Clear everything in it except for the first line “extends Node2D”.
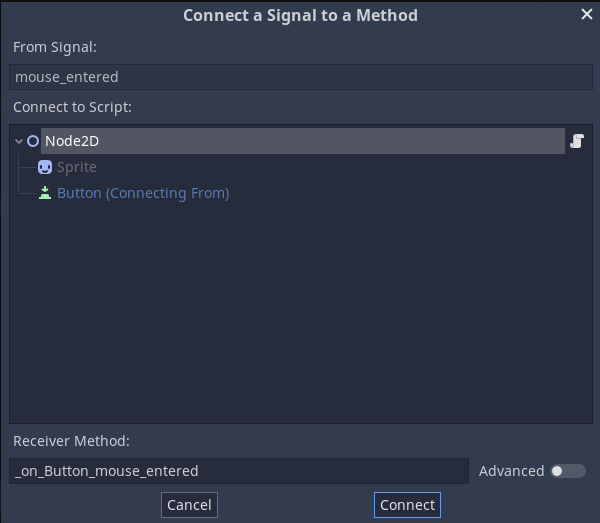
Now click on the Button Node in Scene Dock section and Go into Node in the right side Inspector Dock section to attach a signal with a function. Here we are going to attach the mouse_entered and mouse_exited signal to the respective functions as shown below. Right Click on the mouse_entered and mouse_exited Node signals and click on the Connect button.
Here is one screenshot of the pop for mouse_entered connection.
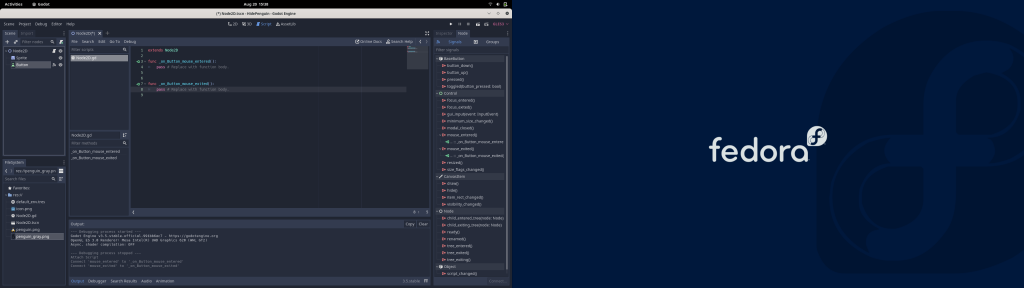
Here is the final gdscript which looks like once the mouse_entered and mouse_exited signal and bind to function as shown below.
Step8: Update the GDScript
Here now we are going to update our gdscript in such a way that when our mouse enters the button area it will displays the penguin image in color and it displays the greyed penguin image when the mouse moves out of the button region.
So here is my Node2D.gd script as shown below.
extends Node2D

func _on_Button_mouse_entered():
	$Sprite.texture = load('penguin.png')

func _on_Button_mouse_exited():
	$Sprite.texture = load('penguin_gray.png')
As you can see we have updated our function in such a way that when the mouse enters the button region it will load the penguin.png and display it as a texture for our Sprite Node and when the mouse exits from the button region it will load the penguin_gray.png and display it as a texture for our Sprite Node as shown below.
We need to click the Play Scene for the action to take place. Please refer to YouTube video for Game Execution Output.
Hope you enjoyed reading this article. Thank you..
Leave a Reply
You must be logged in to post a comment.