How to use Animated SpriteSheet to extract Animation Frames in Godot
Here in this article we are going to see how we can use AnimatedSprite with SpriteFrames resources attached to it. We are going to use an AnimatedFrames StyleSheet of Teddy Bear which we are going to split into individual Sprite Frames and assign these frames to the respective Animation action using the Animation Editor. We will also attach a GDScript to our root node which will help to move the Teddy Bear based on the inputs from the end user and also using flip feature the Animation frames.
Test Environment
Fedora 35 workstation
Godot 3.5
What is AnimatedSprite
AnimatedSprite Node can be used to animate a collection of individual images. Animated Characters can be downloaded as individual images or as a single sprite sheet containing all the animation’s frames. Both can be animated in Godot with the AnimatedSprite class.
If you are interested in watching the video. Here is the YouTube video on the same step by step procedure outlined below.
Procedure
Step1: Download the Animation Sprite Sheet
Here we are going to use the Brown bear walking animated sprite sheet from freepik. Thanks to their amazing work in providing such wonderful animation frames which we can use for our games. All credit to Image by brgfx on Freepik.
[admin@fedser Downloads]$ ls -ltr sprite-sheet-brown-bear-walking.zip
-rw-r--r--. 1 admin admin 4574292 Aug 20 13:07 sprite-sheet-brown-bear-walking.zip

[admin@fedser Downloads]$ unzip sprite-sheet-brown-bear-walking.zip -d ./walking_brown_bear/
[admin@fedser Downloads]$ ls -ltr walking_brown_bear/
total 10224
-rw-rw-rw-. 1 admin admin 4042118 Jun 10  2019  28768.jpg
-rw-rw-rw-. 1 admin admin 6418406 Jun 10  2019  28768.eps
-rw-rw-rw-. 1 admin admin    1115 Jun 10  2019 'License premium.txt'
-rw-rw-rw-. 1 admin admin    1486 Jun 10  2019 'License free.txt'
Step2: Create a new project in Godot
Here i am going to create a new project named – TeddySpriteAnimation. Please refer to my blog on How to install and Launch a Hide Penguin Project in Godot. This blog will provide you with information on Godot Engine installation and the basic concepts related to Godot with a basic example.
Step3: Create a Scene
In this step we are going to create a parent node of type ‘KinematicBody2D’ and create two child nodes that are ‘AnimatedSprite’ and ‘CollisionShape2D’ as shown in the below screenshot.

Step4: Remove Background from the SpriteSheet
The SpriteSheet – 28768.jpg that we download contains the background. We need to remove that background to make sure we only have the Walking Bear Sprites.
We will use the following – Lunapic editor and upload our SpriteSheet image. Once the image is upload we can Click on the Edit – Transparent Background from the Top menu and Click on the colour that you want to make transparent. In our case you can click on the light brown background behind the Walking Bear to make it transparent. Once the Background is transparent you should be able to see the following image which you can save and download.
Let’s crop the image so that we can just have the Bear Sprites and nothing else by going to Edit – Crop Image and select the Bear Sprites as shown below.
Step5: Attach New SpriteFrame Resource to AnimatedSprite Node
Here we are going to use the Animation SpriteSheet – teddy_sprites.png which we extracted in Step3 for extracting individual Sprite Frames for the animation.
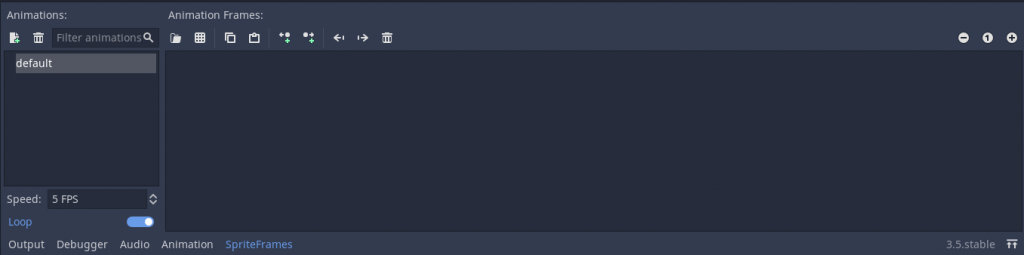
For this Go to – AnimatedSprite Node – Inspector – Frames and create a New SpriteFrames resource. Click on the SpriteFrames to open the Animation Edition at the bottom as shown below.
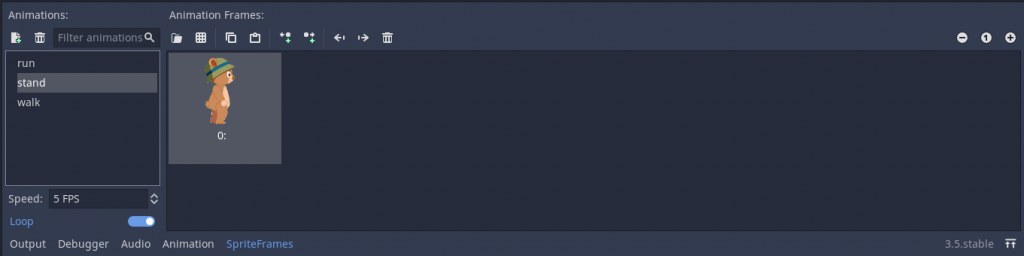
Step6: Create new Animation in Animation Editor
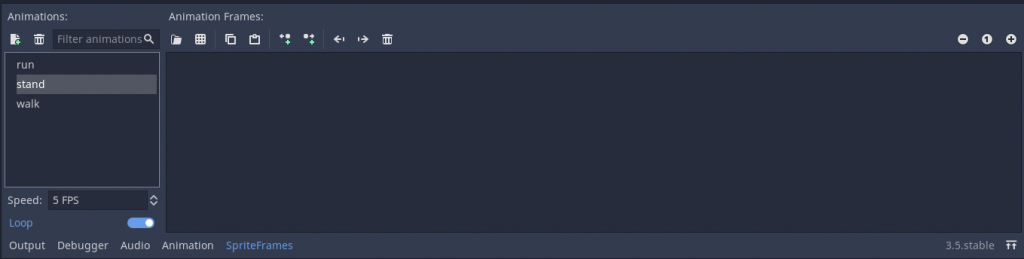
In the Animation Editor now we can create new animation named stand, walk, run as shown below.
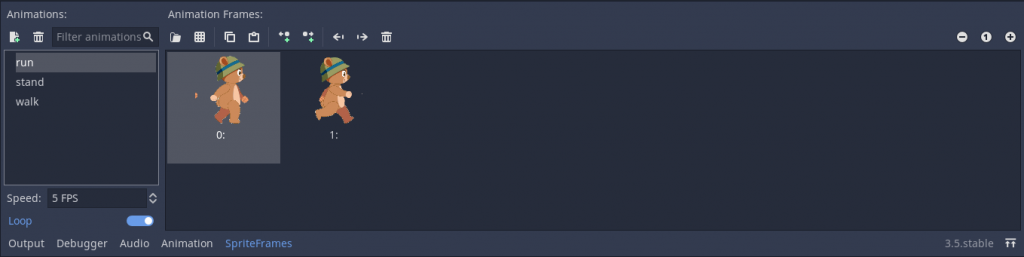
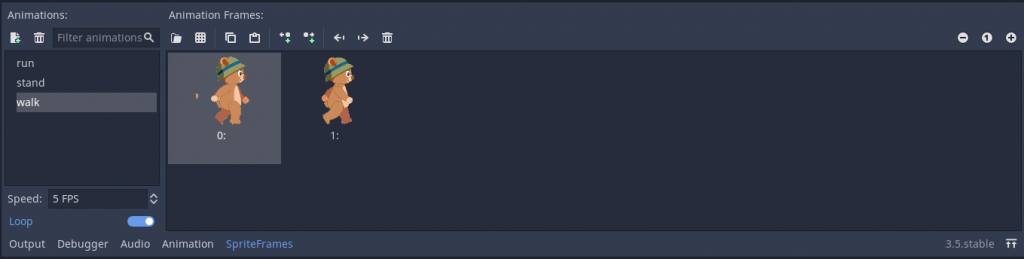
Select each animation step and click on Add Frames from a Sprite Sheet and select teddy_sprites.png and divide it into 6 horizontal parts and 1 vertical part as shown below.
You can select two frames for each of the Animation step “run”, “wa;lk” and one frame for “stand” as shown below.
Step7: Set the default Animation Frame and adjust the scale
Now we can select our AnimationSprite Node in the Scene Dock and in the Inspector Dock set the Animation Property with the “stand” Animation as default and in the Transform section under Node2D scale down the Frame to 0.5 and 0.5 as shown in the screenshot below.
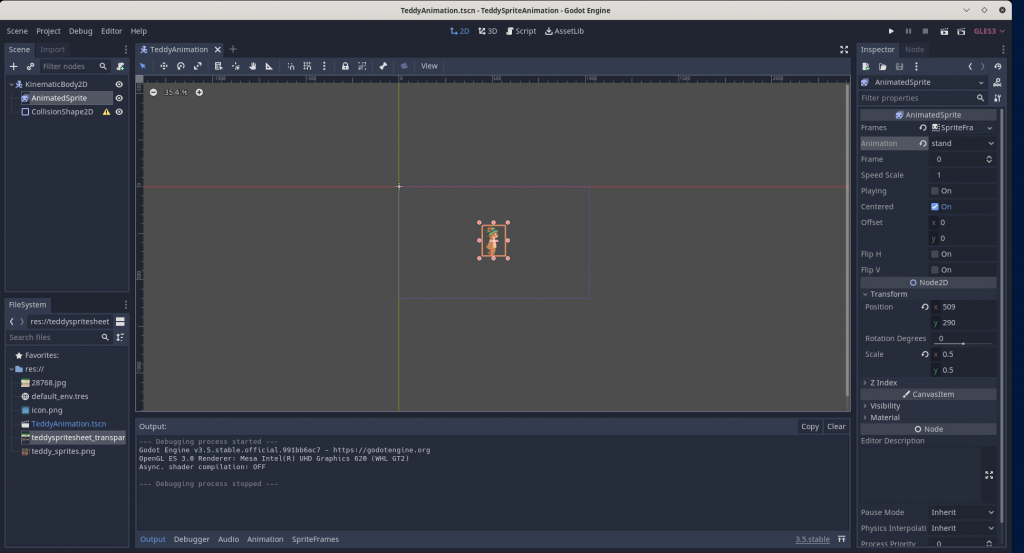
Adjust the AnimationSprite position such that its in the middle of the the Game Window.
Step8: Save the Project
Click on the Play Project button in the top Main Menu at top right corner and select the default Main Scene and name it as TeddyAnimation.tscn and run the project.
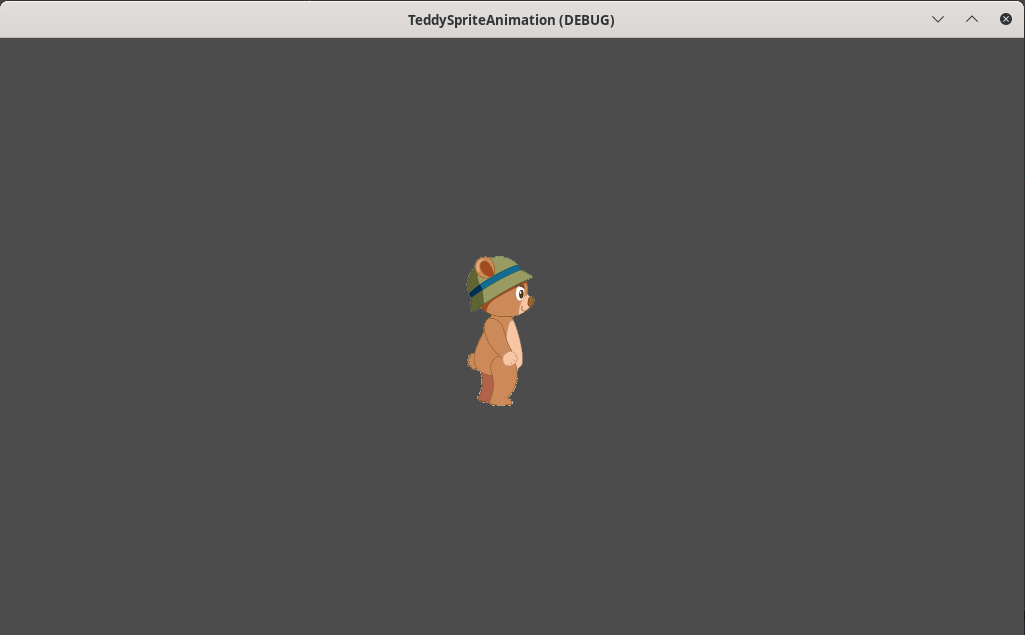
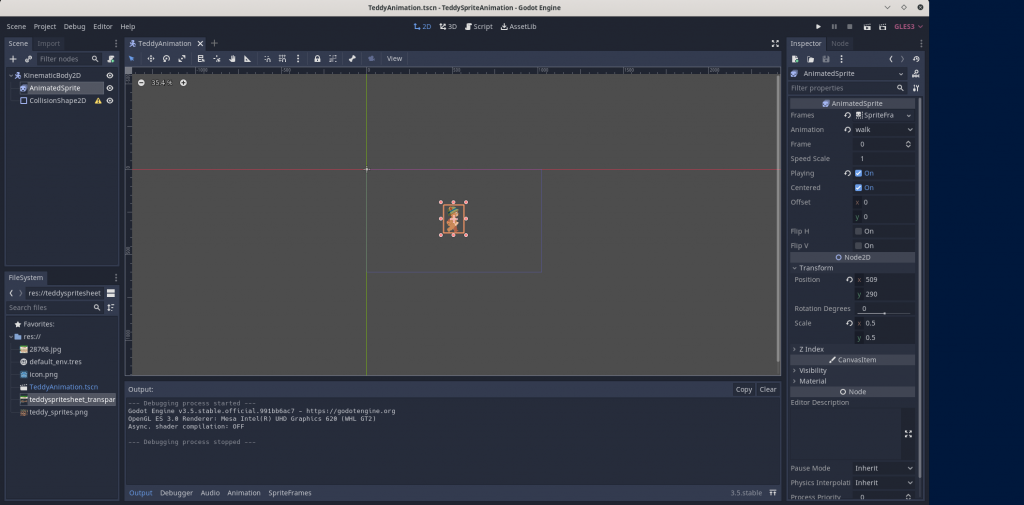
As the default Animation is set to “stand” will just see standing Teddy and no animation. But if you change the default Animation for the AnimationSprite node to “walk” or “run” and set the Playing property to “On” you should see an animated Teddy with the respective frames for which ever Animation is set as the default.
Here is the screenshot of the updates to the Animation default Frame which is “walk” and Playing set to “On”.
Step9: Attach GDScript to KinematicBody2D root node
As a final step let us attach the GDScript to our root node named KinematicBody2D which will take the input from the user like moving left or right and appropriately play the animation frame of the Teddy Bear. Here is the complete GDScript for the same.
Right Click on the KinematicBody2D and click on the Attach Script and copy the below content which will make the respective Animation frame played based on the input provided by the user.
extends KinematicBody2D

var speed = 400

func _physics_process(delta):
	var velocity = Vector2.ZERO
	var direction = 0

	if Input.is_action_pressed("ui_left"):
		direction = -1
		velocity = Vector2(speed * direction, 0)
		#position -= velocity * speed * delta
		#$AnimatedSprite.animation = "walk"
	if Input.is_action_pressed("ui_right"):
		direction = +1
		velocity = Vector2(speed * direction, 0)
		#position += velocity * speed * delta
		#$AnimatedSprite.animation = "walk"

	print(velocity)
	if velocity.x < 0:
		$AnimatedSprite.animation = "walk"
		$AnimatedSprite.flip_h = true
		# See the note below about boolean assignment.
		#$AnimatedSprite.flip_h = velocity.x < 0
	elif velocity.x > 0:
		$AnimatedSprite.animation = "walk"
		$AnimatedSprite.flip_h = false
	else:
		$AnimatedSprite.animation = "stand"

	move_and_slide(velocity)
	$AnimatedSprite.play()
Now you can play the project again and see if you able to move the Teddy left and right with the required animation getting played. Please watch the YouTube video shared above the demo.
Hope you enjoyed reading this article. Thank you..
Leave a Reply
You must be logged in to post a comment.