How to deploy Spring Boot application to AWS ECS

Here in this article we will try to build, push and deploy Spring Boot based application to AWS Elastic Container Service.
Test Environment
AWS Cloud with ECS Service access
What is AWS ECS
Amazon Elastic Container Service (Amazon ECS) is a fully managed container orchestration service that helps you easily deploy, manage, and scale containerized applications.
You can use an Amazon ECS service to run and maintain a specified number of instances of a task definition simultaneously in an Amazon ECS cluster.
If you are interested in watching the video. Here is the YouTube video on the same step by step procedure outlined below.
Procedure
Step1: Ensure AWS Services access
As a first step ensure you have AWS Services access and AWS CLI installed and configured to access the AWS resources. Follow “Set up to use Amazon ECS” for the same.
Validate AWS CLI version that is installed on your workstation.
aws --version
Step2: Ensure Docker installed and running
Ensure that you have Docker installed and running on your workstation where you will build and push the docker images. Here is the Docker version that is installed on my workstation.
docker --version
sudo systemctl start docker.service
Step3: Create a Docker Image
Here we will use a sample spring boot java based application to build a docker image based on the Dockerfile shown below. Let’s clone the repository.
git clone https://github.com/novicejava1/ldapdemo.git
File: ldapdemo/Dockerfile
FROM openjdk:17-jdk-alpine
RUN addgroup -S spring && adduser -S spring -G spring
USER spring:spring
ARG JAR_FILE=build/libs/*.jar
COPY ${JAR_FILE} app.jar
ENTRYPOINT ["java","-jar","/app.jar"]
Now, let’s build the spring boot java project using gradle as shown below to generate the jar package.
./gradlew build
Once the jar package is ready we can build the docker image using the below script.
./docker-build.sh
Verify that the image is available as shown below.
docker images --filter reference=ldapdemo
We can launch the docker image to verify if the application is running as expected.
docker run -d -p 8080:8080 ldapdemo:0.0.2
Access the application using the below url.
URL: http://localhost:8080/
Step4: Create AWS ECR repository
Here in this step we are going to create repository using the AWS ECR service to store our docker images.
aws ecr create-repository \
    --repository-name ldapdemo \
    --region region
Step5: Authenticate to your default registry
We need to authenticate the docker cli with the AWS ECR default registry wherein we created the respository.
aws ecr get-login-password --region region | docker login --username AWS --password-stdin aws_account_id.dkr.ecr.region.amazonaws.com
Step6: Push an image to Amazon ECR
Let’s tag our local docker image to push the AWS ECR repository as shown below and push the image.
docker tag ldapdemo:0.0.2 aws_account_id.dkr.ecr.region.amazonaws.com/ldapdemo:0.0.2
docker push aws_account_id.dkr.ecr.region.amazonaws.com/ldapdemo:0.0.2
Step7: Create a ECS Cluster
Here we will create a AWS ECS cluster named “**ecrdemo**” with the capacity provider as “**AWS FARGATE**“. “AWS FARGATE” is a serverless compute engine for containers that works with both Amazon Elastic Container Service (ECS) and Amazon Elastic Kubernetes (EKS). This is going to be our backend infrastructure on top of which our containerized applications will be launched.
aws ecs create-cluster \
          --cluster-name ecsdemo \
          --capacity-providers FARGATE
Verify that the cluster is created as shown below.
aws ecs list-clusters
Step8: Create a task definition
Let’s now register a task defintion using the JSON file. This task definition file acts like a blueprint for our application. Based on the task definition file the service knows which docker images is used to launch the container and the resources that need to be allocated to the container.
Ensure the following role is created folloiwng “Amazon ECS task execution IAM role“.
aws ecs register-task-definition \
    --cli-input-json file://<path_to_json_file>/ldapdemo.json
File: ldapdemo.json
{
    "family": "ldapdemo-fargate",
    "networkMode": "awsvpc",
    "containerDefinitions": [
        {
            "name": "ldapdemo",
            "image": "aws_account_id.dkr.ecr.region.amazonaws.com/ldapdemo:0.0.2",
            "portMappings": [
                {
                    "containerPort": 8080,
                    "hostPort": 8080,
                    "protocol": "tcp"
                }
            ],
            "essential": true,
            "entryPoint": [
                "java",
		"-jar",
		"/app.jar"
            ]

        }
    ],
    "requiresCompatibilities": [
        "FARGATE"
    ],
    "cpu": "256",
    "memory": "512",
    "executionRoleArn": "arn:aws:iam::aws_account_id:role/ecsTaskExecutionRole"
}
You can verify the task definition that we just created as shown below.
aws ecs list-task-definitions
Step9: Create the Service
A service is a logical grouping of tasks that perform a similar function. A service ensures that a specified number of tasks are running and provides a way to load balance traffic across them. Ensure to update the CLI command with the correct subnet and security group. We need to create a security group with port 8080 enabled to access the spring boot application.
aws ecs create-service \
    --cluster ecsdemo \
    --service-name ldapdemo \
    --task-definition ldapdemo-fargate:6 \
    --desired-count 2 \
    --launch-type FARGATE \
    --platform-version LATEST \
    --network-configuration "awsvpcConfiguration={subnets=[subnet-xxx],securityGroups=[sg-xxx],assignPublicIp=ENABLED}"
Step10: View Service and Tasks
We can list our services and tasks that are launched as shown below.
aws ecs list-services --cluster ecsdemo
aws ecs list-tasks --cluster ecsdemo
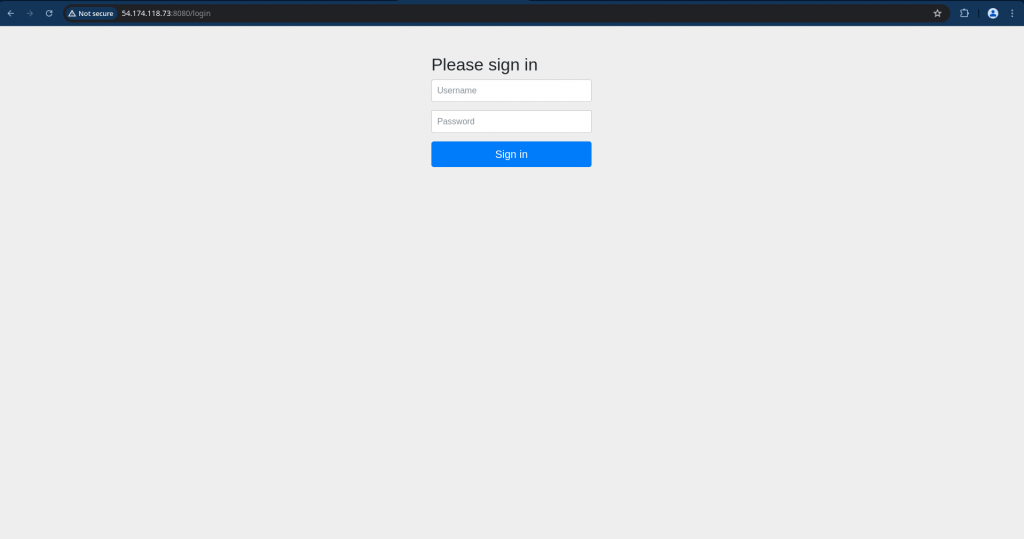
Also, we can navigate to ECS Cluster – Services – Service Name – Tasks – Task Name – Configuration to get the public ip address for our service to verify the spring boot application.
URL - http://ecs_service_public_ip:8080

Cleanup all your resources that were created to incur no charges.
Hope you enjoyed reading this article. Thank you..
Leave a Reply
You must be logged in to post a comment.