How to install and setup Podman Desktop on Fedora 36 workstation
Here in this article we will see how we can install Podman Desktop Application which helps in managing the container and images and their lifecycle. We will be installation Podman Desktop as a Flatpak package and pull an image and launch a tomcat container from that image using the Podman Desktop.
Test Environment
Fedora 36 workstation
What is Podman Desktop
Podman Desktop GUI environment is provided to manage the containers, images, volumes with easy for the application developers. Podman Desktop leverages Podman Engine to provide lightweight and daemon-less container tool.
Procedure
Step1: Ensure Fedora system is updated
Make sure that you update your system with the latest package as fedora packages are constantly updated with latest bugfix and enhancements.
sudo dnf update -y
Step2: Install Podman Engine
Let’s now install podman container management tool as shown below. By default fedora 36 install podman 4.0 version which is required for podman desktop application.
sudo dnf install podman
Make sure Podman Engine is running.
podman run quay.io/podman/hello
Output:
Trying to pull quay.io/podman/hello:latest...
Getting image source signatures
Copying blob 3cdd84931c1c done
Copying config 8be406464a done
Writing manifest to image destination
Storing signatures
!... Hello Podman World ...!

         .--"--.
       / -     - \
      / (O)   (O) \
   ~~~| -=(,Y,)=- |
    .---. /`  \   |~~
 ~/  o  o \~~~~.----. ~~
  | =(X)= |~  / (O (O) \
   ~~~~~~~  ~| =(Y_)=-  |
  ~~~~    ~~~|   U      |~~

Project:   https://github.com/containers/podman
Website:   https://podman.io
Documents: https://docs.podman.io
Twitter:   @Podman_io
Step3: Add and Enable flathub repository
For installing Podman Desktop let’s setup the flathub repository and enable it. This is the repository from which we can download the podman flatpak application.
flatpak remote-add --if-not-exists flathub https://flathub.org/repo/flathub.flatpakrepo
flatpak remote-modify --enable flathub
Step4: Download Podman Desktop flatpak file
Here we are going to download the podman-desktop flatpak application file as shown below.
wget https://github.com/containers/podman-desktop/releases/download/v0.0.7/podman-desktop-0.0.7.flatpak
Step5: Install Podman Desktop
Podman Desktop required Podman Engine 4.0 to be installed to leverage the tools provided by it. Let’s now install the podman-desktop flatpak application package.
sudo flatpak install podman-desktop-0.0.7.flatpak
NOTE: If you get the below error while install podman desktop flatpak, check if your flathub remote repository is enabled or not and ensure its enabled.
Error: The application io.podman_desktop.PodmanDesktop/x86_64/main requires the runtime org.freedesktop.Platform/x86_64/21.08 which was not found.
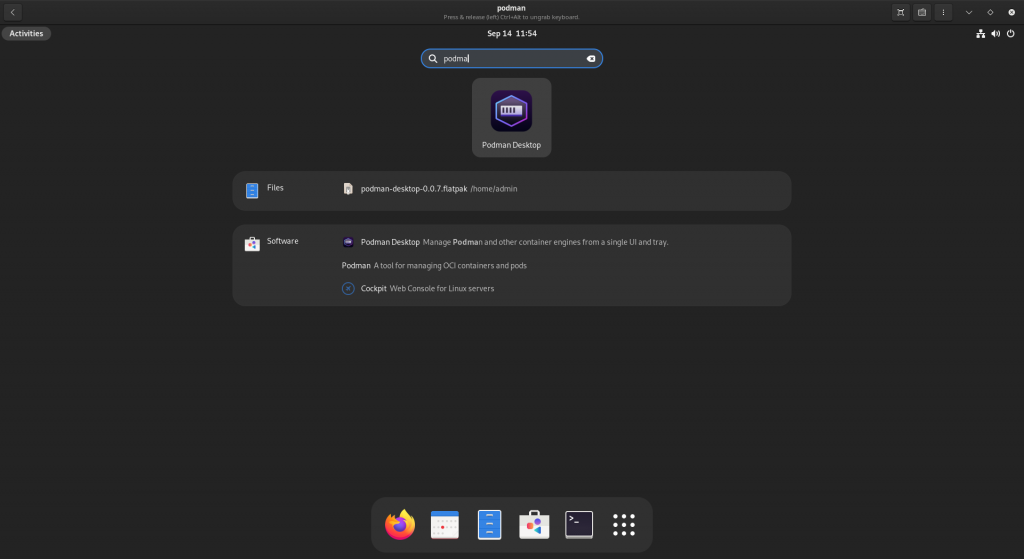
Step6: Run Podman Desktop
Podman desktop application can be launched from the GUI. You can search Podman and should be able to see the following application to launch.
Once the Podman Desktop application is launched you should be able to see the following HOME screen as shown below.
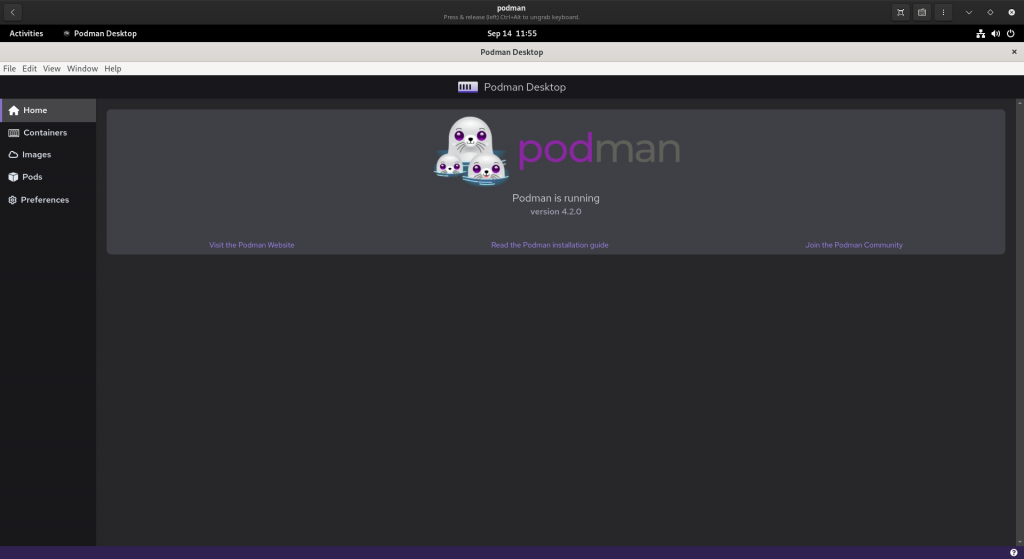
We can also launch the Podman desktop from shell as shown below.
flatpak run io.podman_desktop.PodmanDesktop
I was getting this message when in the containers section showing “No Container Engine“. As per the documentation it must initialize the Podman Engine and creates a Podman Machine for you. Here is the screenshot below.
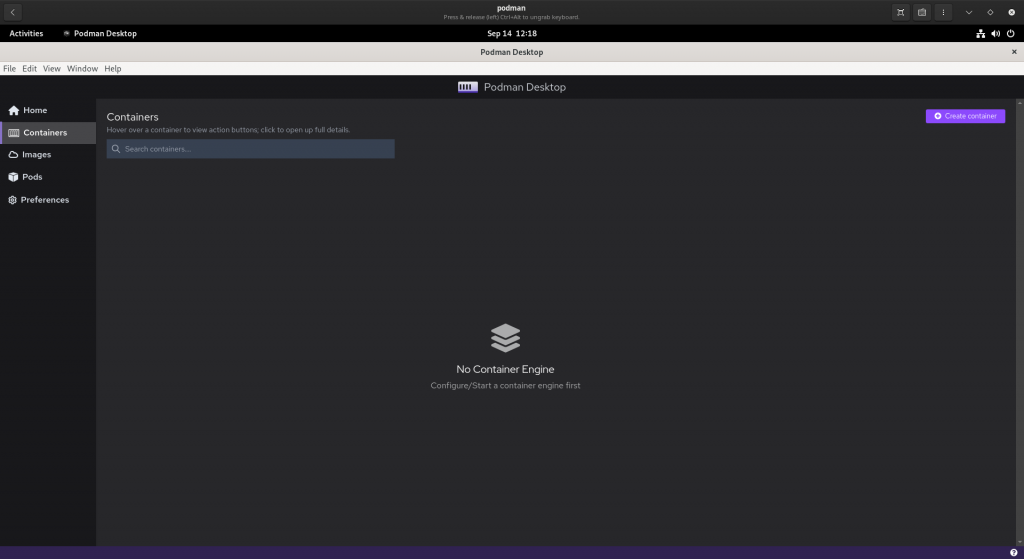
So, i tried to initialize the machine and start it as shown below.
Initialize Podman Machine
podman machine init
Output:
Downloading VM image: fedora-coreos-36.20220906.2.0-qemu.x86_64.qcow2.xz: done
Extracting compressed file
Image resized.
Machine init complete
To start your machine run:

	podman machine start
Start Podman Machine
podman machine start
Output:
Starting machine "podman-machine-default"
Waiting for VM ...
Mounting volume... /home/admin:/home/admin

This machine is currently configured in rootless mode. If your containers
require root permissions (e.g. ports < 1024), or if you run into compatibility
issues with non-podman clients, you can switch using the following command:

	podman machine set --rootful

API forwarding listening on: /home/admin/.local/share/containers/podman/machine/podman-machine-default/podman.sock
You can connect Docker API clients by setting DOCKER_HOST using the
following command in your terminal session:

	export DOCKER_HOST='unix:///home/admin/.local/share/containers/podman/machine/podman-machine-default/podman.sock'

Machine "podman-machine-default" started successfully
podman machine list
Output:
NAME                     VM TYPE     CREATED         LAST UP            CPUS        MEMORY      DISK SIZE
podman-machine-default*  qemu        22 minutes ago  Currently running  1           2.147GB     107.4GB
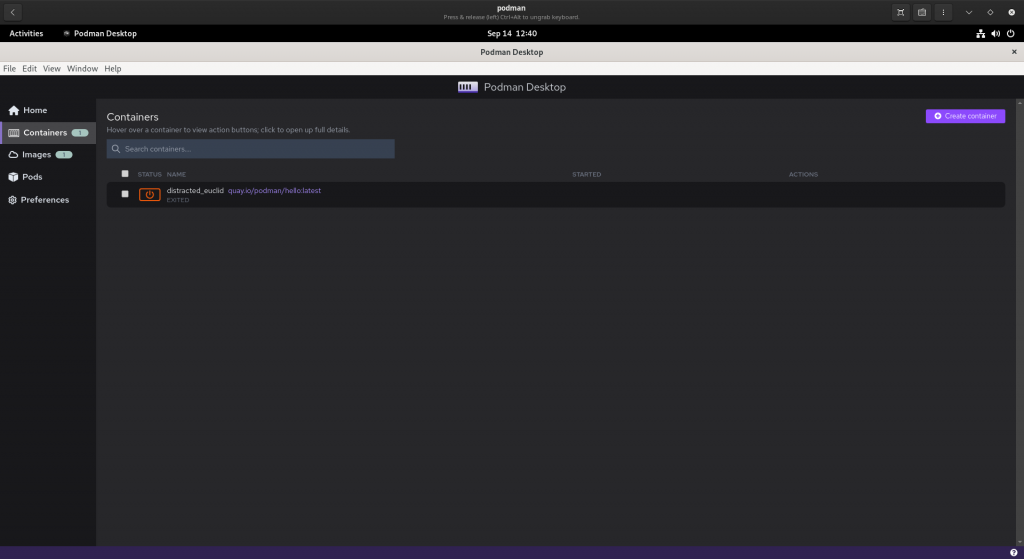
Once the podman machine is started, try to quit your podman desktop gui and relaunch it. Now you should be able to see the container that was launched initially in step 2 using the image podman/hello as shown below.
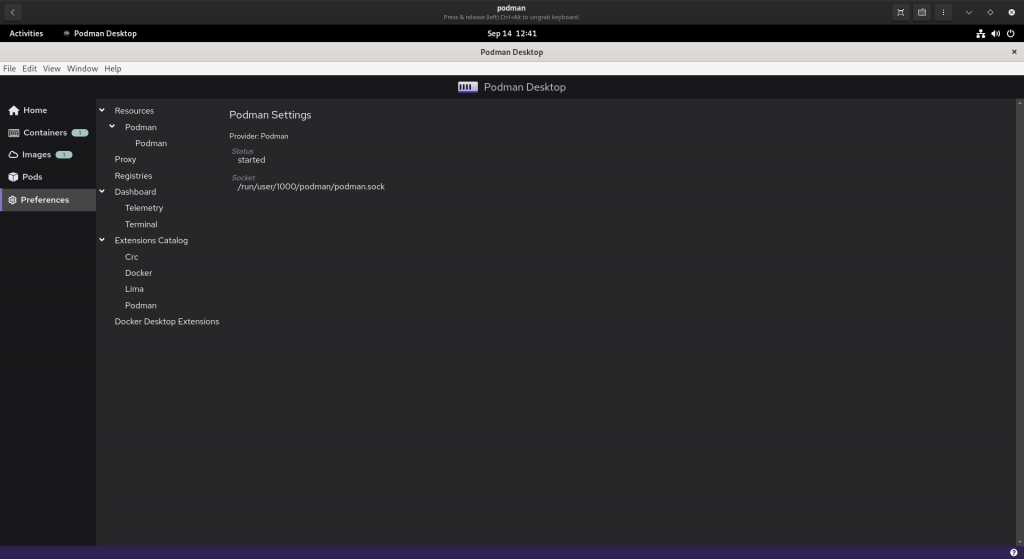
Also, need to make sure that the podman provider is started as shown below.
Step7: Configure docker.io registry
By default podman is configured to use quay.io registory for the images. We can configure podman with docker.io registry as shown below.
Go to – Preferences – Registries – Login to Registry. This will prompt for credentials for your registry which you would like to add.
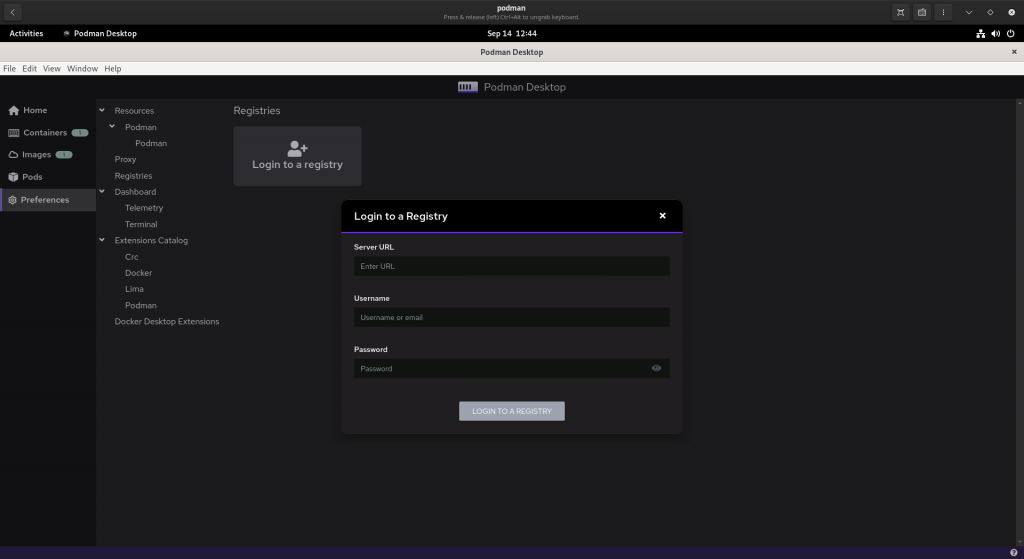
For adding docker.io registry provide the following details.
Server URL – docker.io
username – dockerhub userid
password – dockerhub password
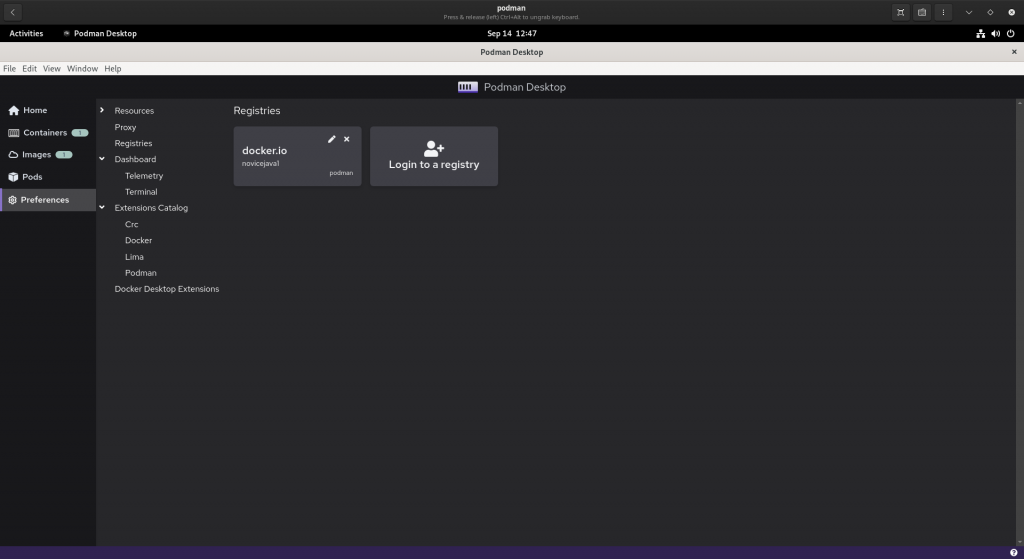
Once the registry is added you should see the registry in the section as shown as shown below.
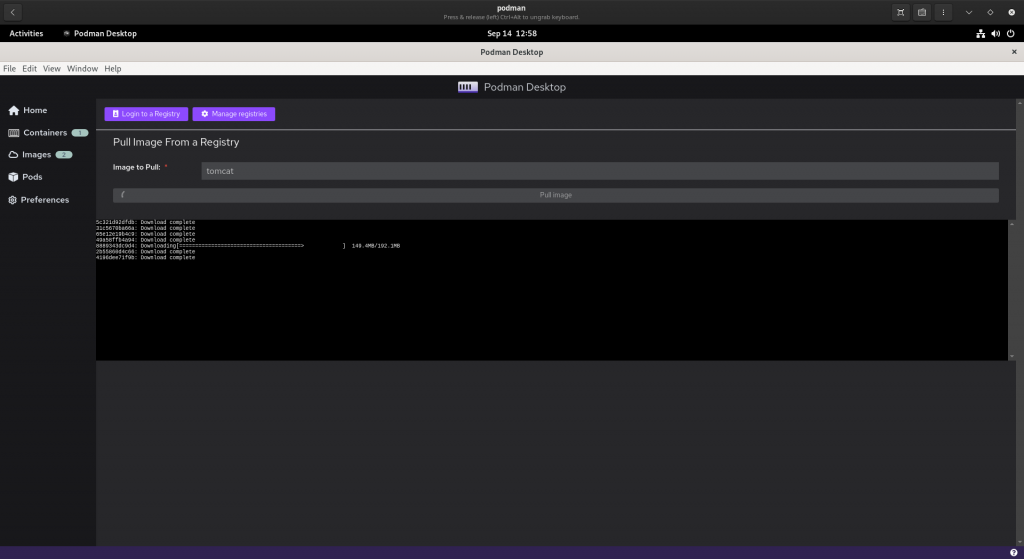
Step8: Pull image from docker.io
Now lets go to Images – Click on Pull Image and provide the image name as ‘tomcat:9.0’ to pull an image from docker.io registry.
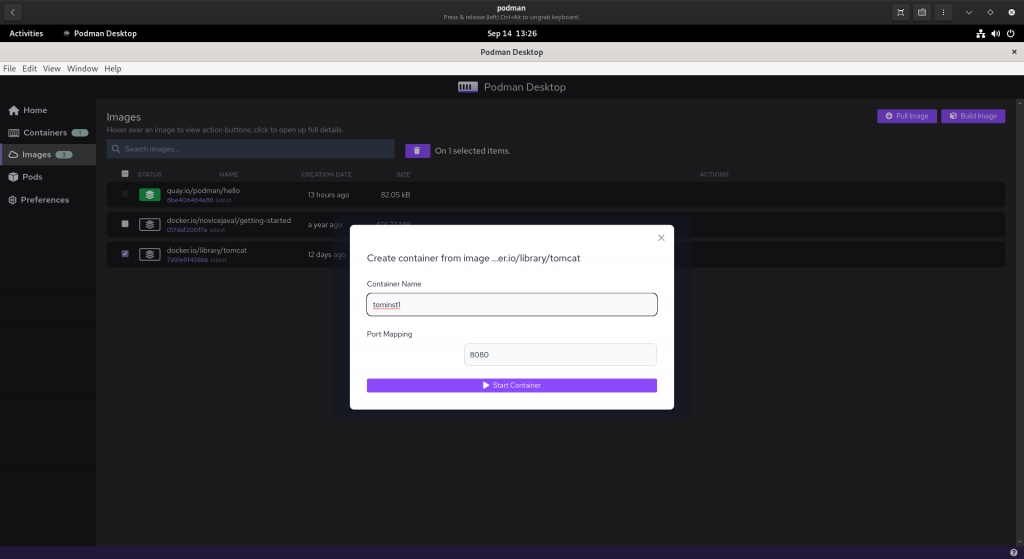
Step9: Run image
Now go to Images – Select the ‘tomcat’ image from the list and in the right side click on the Run Icon which shown when you hover towards to right side. Provide the container name as ‘tominst1’ and port as 8080 and click on the start container.
Note: as of docker-library/tomcat#181, the upstream-provided (example) webapps are not enabled by default, per upstream’s security recommendations, but are still available under the webapps.dist folder within the image to make them easier to re-enable.
You can now launch your browser using the icon provided in the containers or browse for http://localhost:8080 and you should get a 404 page.
Hope you enjoyed reading this article. Thank you..
Leave a Reply
You must be logged in to post a comment.