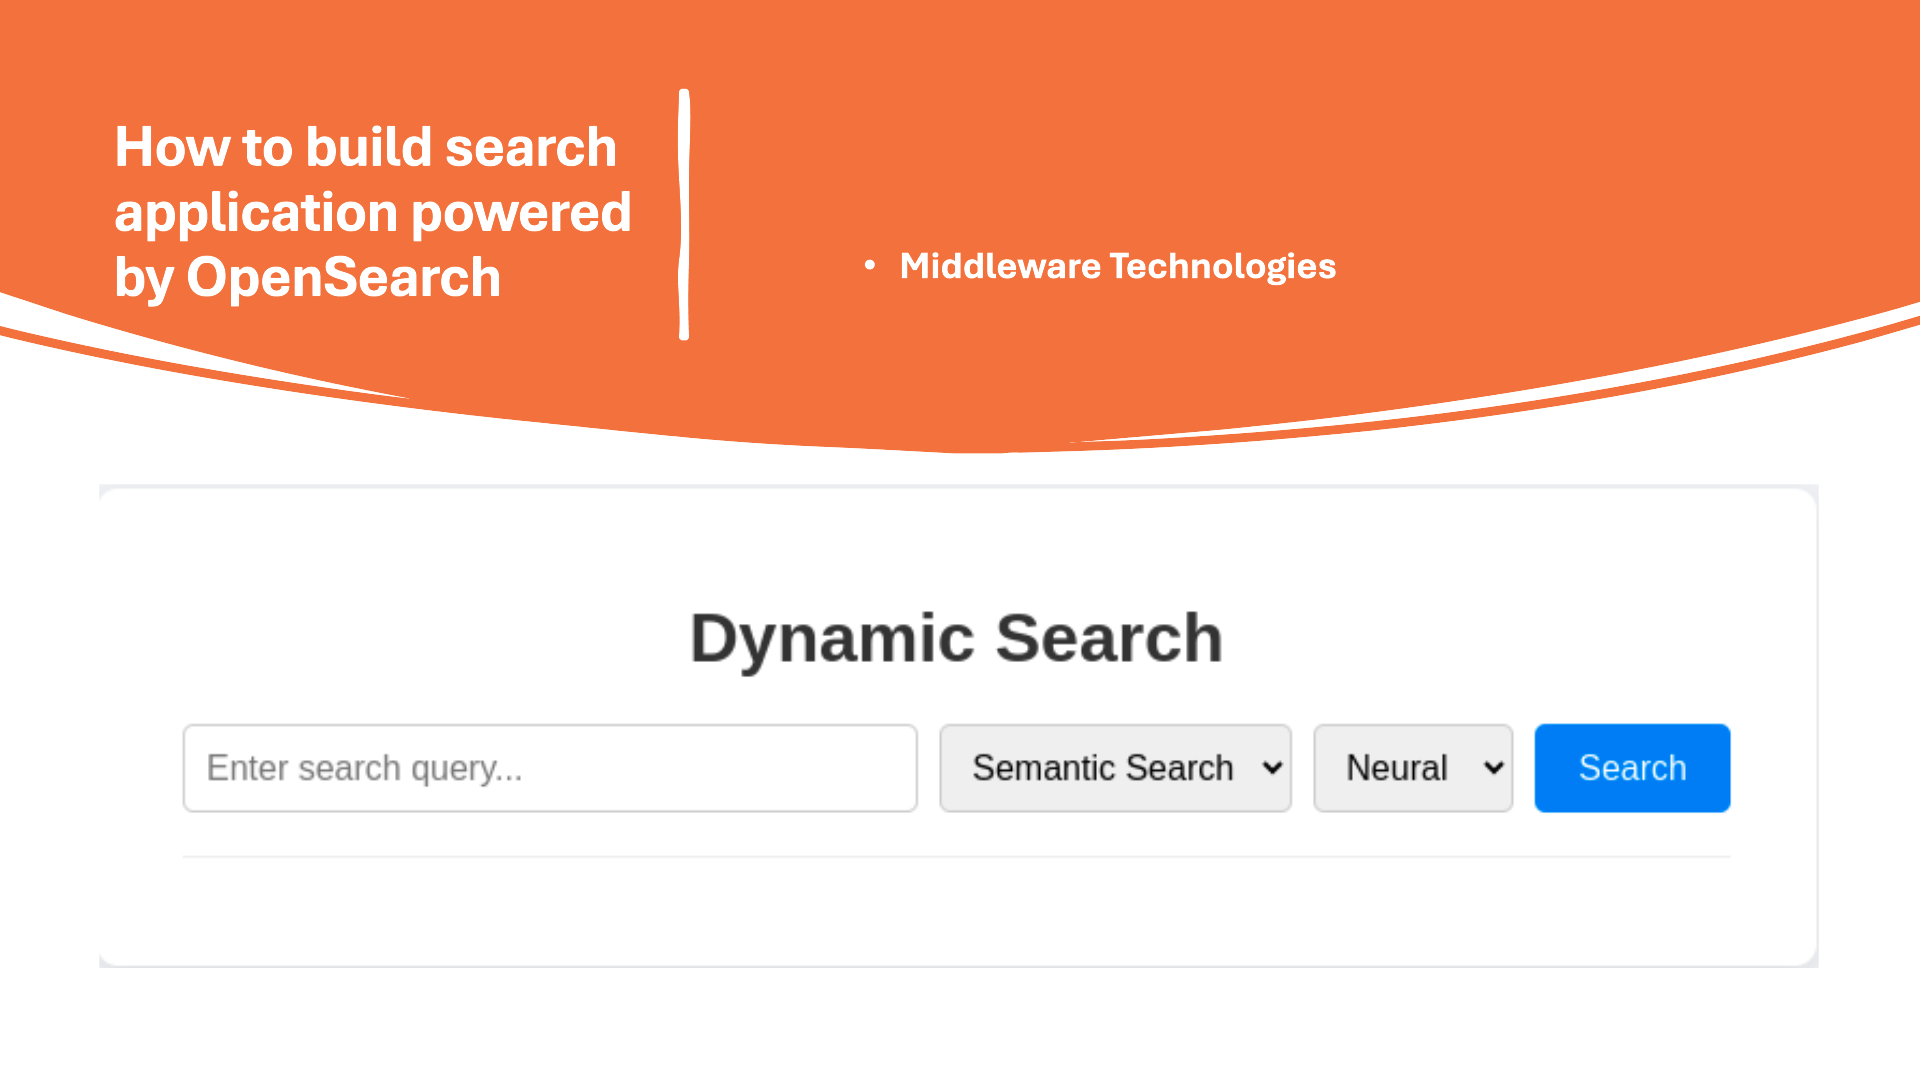
How to build search application powered by OpenSearch
Here in this article we will try to build a basic search application powered by OpenSearch. We will also demonstrate how we can use different types of search.
Test Environment
- Fedora 41 server
- Docker version 27.4.1
- Docker Compose v2.32.1
What is Vector Database
A vector database stores data as numerical vectors (embeddings) in a high-dimensional space, allowing it to perform similarity searches on unstructured data like text, images, or audio. It is optimized for quickly finding items that are semantically similar to a query, rather than just matching keywords. These databases are crucial for AI applications like machine learning and natural language processing.
What is Full Text search
OpenSearch full-text search refers to the capability within the OpenSearch distributed search and analytics suite to perform linguistic searches against text data. This means that instead of simply matching keywords, OpenSearch analyzes the actual content of the text, taking into account the rules of a particular language (like English or Japanese) to find relevant results.
What is Vector Search
Vector search is an information retrieval method that uses mathematical representations called vectors (or embeddings) to find items with similar meaning in large datasets. It goes beyond traditional keyword matching to find conceptually similar results, making it useful for applications like recommendation systems, semantic search, and image recognition.
What is Semantic Search
Semantic search is a search technology that understands the user’s intent and the context of a query, rather than just matching keywords. By using technologies like Natural Language Processing (NLP), it analyzes the relationships between words to deliver more relevant and accurate results. This allows it to comprehend vague or incomplete queries and understand the underlying meaning behind a search.
NOTE: We will leverage vscode restclient extension for communication with OpenSearch cluster in this demo.
Here is the project structure.
admin@fedser:opensearch_powered_searchapp$ tree .
.
├── amazon_headset
│   ├── amazon_pqa_headsets.json
│   ├── neural_search_amazon_pqa_headsets.ndjson
│   └── opensearch.http
├── app.py
├── docker-compose.yml
├── static
│   └── style.css
└── templates
    └── index.html
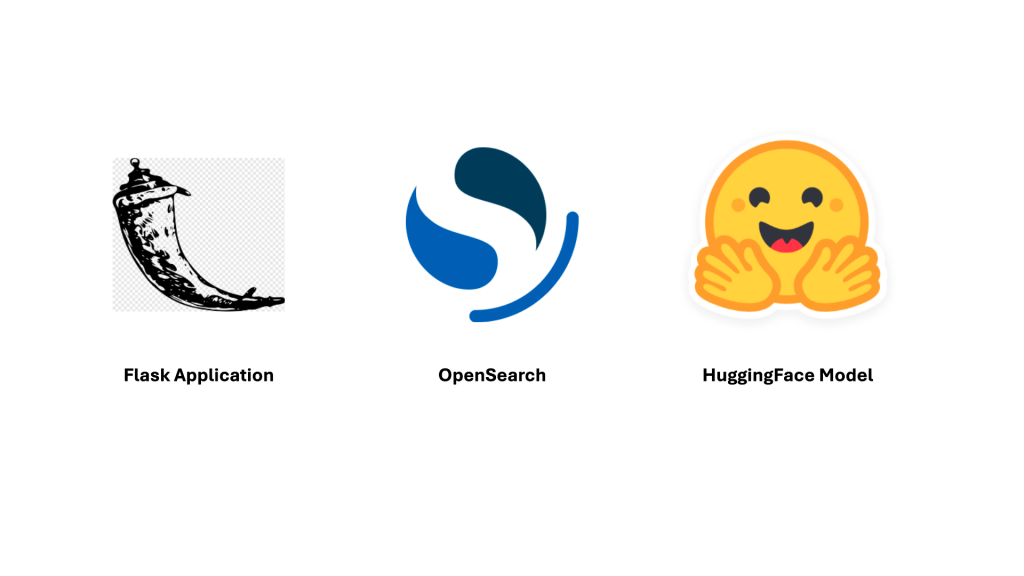
High Level Architecture
If you are interested in watching the video. Here is the YouTube video on the same step by step procedure outlined below.
Procedure
Step1: Ensure OpenSearch Cluster running
Follow “How to setup Opensearch and Opensearch Dashboard” blog to setup your OpenSearch cluster for this demo.
So my cluster is up and running on the following server “fedser.stack.com” with port “9200” for OpenSearch and “5601” for OpenSearch Dasbhoard.
We can verify the same using the below restapi query using the vscode restclient extension.
### Get cluster status
GET https://fedser.stack.com:9200/_cluster/health
Authorization: Basic admin:Se@rch@2025
Accept: application/json
Content-Type: application/json
Step2: Download Sample Data
Here we will be using the sample data from OpenSearch Vector search documentation.
admin@fedser:amazon_headset$ wget https://amazon-pqa.s3.amazonaws.com/amazon_pqa_headsets.json
Take the first 5000 documents and prepare them for bulk indexing.
admin@fedser:amazon_headset$ head -n 5000 amazon_pqa_headsets.json | awk '{ print "{\"index\":{\"_index\":\"neural_search_pqa\"}}"; print;}' > neural_search_amazon_pqa_headsets.ndjson
Step3: Enable running ML models on node
Here we will update the cluster settings to ensure sure that ML models can be executed on any node rather than only on ML specific nodes.
### Enable running ML models on node
PUT https://fedser.stack.com:9200/_cluster/settings
Authorization: Basic admin:Se@rch@2025
Accept: application/json
Content-Type: application/json

{
  "persistent": {
    "plugins.ml_commons.only_run_on_ml_node": false
  }
}
Step4: Register and Deploy Model
Let us use a sentence transformer model provided by Huggingface as shown below.
### Register and deploy a model
POST https://fedser.stack.com:9200/_plugins/_ml/models/_register?deploy=true
Authorization: Basic admin:Se@rch@2025
Accept: application/json
Content-Type: application/json

{
	"name": "huggingface/sentence-transformers/all-distilroberta-v1",
	"version": "1.0.2",
	"model_format": "TORCH_SCRIPT"
}
Step5: Validate the ML model deployment status
ML model registration and deployment is an async task where in you will be provided with task id which can be tracked for its status as shown below.
When status is showing as completed, ML model is deployed successfully. You can also verify it from the OpenSearch Dashboard by navigating to “Machine Learning” under “OpenSearch Plugins” as check the Model status. Also capture the Model ID for later use.
### Get Task status
GET https://fedser.stack.com:9200/_plugins/_ml/tasks/4uuO-5kBix_KbsRYVGRn
Authorization: Basic admin:Se@rch@2025
Accept: application/json
Content-Type: application/json
Step6: Create ingest pipeline
Here we will create an ingest pipeline that will generate vector embeddings from text. Update the model_id with the id that is generated for you.
### Create ingest pipeline
PUT https://fedser.stack.com:9200/_ingest/pipeline/nlp-index-pipeline
Authorization: Basic admin:Se@rch@2025
Accept: application/json
Content-Type: application/json

{
  "processors" : [
    {
      "text_embedding": {
        "model_id": "4-uO-5kBix_KbsRYXWTG",
        "field_map": {
          "question_text": "question_vector"
        }
      }
    }
  ]
}
Step7: Test Ingest pipeline
Let’s now test our text embedding model by submitting a text which would be trasformed into the vector embedding in the output field “sentence_embedding” to validate the result.
### Test Ingest pipeline
POST https://fedser.stack.com:9200/_plugins/_ml/_predict/text_embedding/4-uO-5kBix_KbsRYXWTG
Authorization: Basic admin:Se@rch@2025
Accept: application/json
Content-Type: application/json

{
  "text_docs":[ "what does the package contain?"],
  "return_number": true,
  "target_response": ["sentence_embedding"]
}
Step8: Create an index with default ingest pipeline
Here we will create an index that uses the ingestion pipeline created in the previous step for perfomring the text embedding transformation and mapping it to field “question_vector” under the index “neural_search_pqa”.
### Create an index with default ingest pipeline
PUT https://fedser.stack.com:9200/neural_search_pqa
Authorization: Basic admin:Se@rch@2025
Accept: application/json
Content-Type: application/json

{
  "settings": {
    "index.knn": true,
    "default_pipeline": "nlp-index-pipeline"
  },
  "mappings": {
    "properties": {
      "question_vector": {
        "type": "knn_vector",
        "dimension": 768
      }
    }
  }
}
Step9: Ingest multiple JSON docs to NLP index
Once we have the ingestion pipeline and the index in place, it’s time to ingest documents. Here will use the newline delimited json document “neural_search_amazon_pqa_headsets.ndjson” which we prepared in step2 consisting on 5000 documents.
### Ingest multiple JSON docs to NLP index
POST https://fedser.stack.com:9200/_bulk
Authorization: Basic admin:Se@rch@2025
Accept: application/json
Content-Type: application/x-ndjson

< ./neural_search_amazon_pqa_headsets.ndjson
Step10: Create Python Flask application
Now it’s time to build our python flask application which consist of a frontend and backend api service. which exposes an endpoint “/search” which sends a search query request with different search methods. Here we can do a fulltextsearch and semanticsearch to see the difference in the result of both the queries.
- Frontend: It provides a user interface to input the text, search method and the index to search. The search endpoint is calling using the fetch api within the javascript emmedded in the html.
- Backend: It provides an API endpoint to send the search query request to OpenSearch database.
admin@fedser:opensearch$ cat templates/index.html
<!DOCTYPE html>
<html lang="en-US">
<head>
    <meta charset="UTF-8">
    <meta name="viewport" content="width=device-width, initial-scale=1.0">
    <title>Dynamic Search</title>
    <link rel="stylesheet" href="{{ url_for('static', filename='style.css') }}">
</head>
<body>
    <div class="container">
        <h1>Dynamic Search</h1>
        <form id="search-form">
            <div class="input-group">
                <input type="text" id="query" name="query" placeholder="Enter search query..." required>

               <!-- Select the OpenSearch Feature-->
                <select id="searchtype" name="searchtype">
                    <option value="fulltextsearch">Full Text Search</option>
                    <option value="semanticsearch">Semantic Search</option>
                </select>

                <!-- Select the OpenSearch Index -->
                <select id="indexname" name="index">
                    <option value="movies">Movies</option>
                    <option value="books">Books</option>
                    <option value="neural_search_pqa">Neural</option>
                </select>

                <button type="submit">Search</button>
            </div>
        </form>

        <div id="results-container">
            <!-- Search results will be injected here -->
        </div>
    </div>

    <script>
        document.getElementById('search-form').addEventListener('submit', function(event) {
            event.preventDefault(); // Prevent the default form submission

            const query = document.getElementById('query').value;
            const searchtype = document.getElementById('searchtype').value;
            const index = document.getElementById('indexname').value;
            const resultsContainer = document.getElementById('results-container');

            // Clear previous results
            resultsContainer.innerHTML = '<p>Searching...</p>';

            // Use the Fetch API to make a GET request to your Flask endpoint
            fetch(`/search?query=${encodeURIComponent(query)}&index=${encodeURIComponent(index)}&searchtype=${encodeURIComponent(searchtype)}`)
                .then(response => {
                    if (!response.ok) {
                        throw new Error(`HTTP error! Status: ${response.status}`);
                    }
                    return response.json(); // Assuming your Flask route returns JSON
                })
                .then(data => {
                    resultsContainer.innerHTML = ''; // Clear the "Searching..." message

                    if (data.hits && data.hits.hits.length > 0) {
                        const hitList = data.hits.hits;
                        const ul = document.createElement('ul');
                        hitList.forEach(hit => {
                            const li = document.createElement('li');
                            const source = hit._source;
                            //li.innerHTML = `
                            //    <strong>Title:</strong> ${source.title} <br>
                            //    <strong>Director:</strong> ${source.director}
                            //`;
                            li.innerHTML = `
                                <strong>Question Text:</strong> ${source.question_text} <br>
                                <strong>Question Type:</strong> ${source.question_type}
                            `;
                            ul.appendChild(li);
                        });
                        resultsContainer.appendChild(ul);
                    } else {
                        resultsContainer.innerHTML = '<p>No results found.</p>';
                    }
                })
                .catch(error => {
                    console.error('Fetch error:', error);
                    resultsContainer.innerHTML = '<p>An error occurred while fetching results.</p>';
                });
        });
    </script>
</body>
</html>
admin@fedser:opensearch$ cat static/style.css
body {
    font-family: -apple-system, BlinkMacSystemFont, "Segoe UI", Roboto, Helvetica, Arial, sans-serif;
    background-color: #f0f2f5;
    margin: 0;
    padding: 0;
    display: flex;
    justify-content: center;
    align-items: center;
    min-height: 100vh;
}

.container {
    background: #fff;
    padding: 30px 40px;
    border-radius: 10px;
    box-shadow: 0 4px 15px rgba(0, 0, 0, 0.1);
    width: 100%;
    max-width: 800px;
    box-sizing: border-box;
}

h1 {
    text-align: center;
    color: #333;
}

.input-group {
    display: flex;
    gap: 10px;
    margin-bottom: 20px;
}

#query {
    flex-grow: 1;
    padding: 10px;
    border: 1px solid #ccc;
    border-radius: 5px;
    font-size: 16px;
}

#indexname {
    padding: 10px;
    border: 1px solid #ccc;
    border-radius: 5px;
    font-size: 16px;
}

#searchtype {
    padding: 10px;
    border: 1px solid #ccc;
    border-radius: 5px;
    font-size: 16px;
}

button {
    padding: 10px 20px;
    background-color: #007bff;
    color: #fff;
    border: none;
    border-radius: 5px;
    cursor: pointer;
    font-size: 16px;
    transition: background-color 0.2s;
}

button:hover {
    background-color: #0056b3;
}

#results-container {
    margin-top: 20px;
    border-top: 1px solid #eee;
    padding-top: 20px;
}

#results-container p {
    text-align: center;
    color: #888;
}

#results-container ul {
    list-style-type: none;
    padding: 0;
    margin: 0;
}

#results-container li {
    background: #f9f9f9;
    padding: 15px;
    border-radius: 5px;
    margin-bottom: 10px;
    border: 1px solid #eee;
}

#results-container li:last-child {
    margin-bottom: 0;
}
This is the python application which exposes the frontend ui on “/” context and search api on “/search” endpoint as shown below.
admin@fedser:opensearch$ cat app.py
from flask import Flask
from flask import request
from flask import Flask, render_template
from opensearchpy import OpenSearch
import sys
import json

app = Flask(__name__)

@app.route("/")
def hello_world():
    return render_template('index.html')
    #return "<p>Hello, World!</p>"

@app.route("/search")
def search():
    query_string = request.args.get('query')
    searchtype = request.args.get('searchtype')
    indexname = request.args.get('index')

    if searchtype == 'fulltextsearch':
        query = {
            'size': 5,
            'query': {
                'multi_match': {
                'query': query_string,
                #'fields': ['title^2', 'director']       # ^ is a boost operator to influence document relevance score
                }
            }
        }
    elif searchtype == 'semanticsearch':
        query = {
            'size': 5,
            'query': {
                'neural': {
                    'question_vector': {
                        'query_text': query_string,
                        'model_id': 'we5R_ZkBbUiMJfBGh94c',
                        'k': 5
                        }
                },
            #'fields': ['question_text', 'answer_text']
            }

        }
    else:
        query = {
            'size': 5,
            'query': {
            'multi_match': {
            'query': query_string,
            'fields': ['title^2', 'director']       # ^ is a boost operator to influence document relevance score
                }
            }
        }

    response = client.search(
            body = query,
            index = indexname
    )
    #print(response)
    #return "<p>Query String: {}</p>".format(query_string)
    return response

if __name__ == '__main__':

    # Declare OpenSearch variables
    host = "fedser.stack.com"
    port = "9200"
    auth = ('admin', 'Se@rch@2025')

    # Create client with SSL/TLS enabled, but hostname verification disabled
    client = OpenSearch(
        hosts = [{'host': host, 'port': port}],
        http_compress = True, # enables gzip compression for request bodies
        http_auth = auth,
        use_ssl = True,  # opensearch cluster with default ssl setup
        verify_certs = False,
        ssl_assert_hostname = False,
        ssl_show_warn = False
    )
    app.run(debug=True)
Step11: Run Flask application
Now it’s time to run our flask application and see it in action.
admin@fedser:opensearch$ python app.py
 * Serving Flask app 'app'
 * Debug mode: on
WARNING: This is a development server. Do not use it in a production deployment. Use a production WSGI server instead.
 * Running on http://127.0.0.1:5000
Press CTRL+C to quit
 * Restarting with stat
 * Debugger is active!
 * Debugger PIN: 946-286-223
Step12: Validate application
Ensure that you are able to launch the index.html page as shown below.

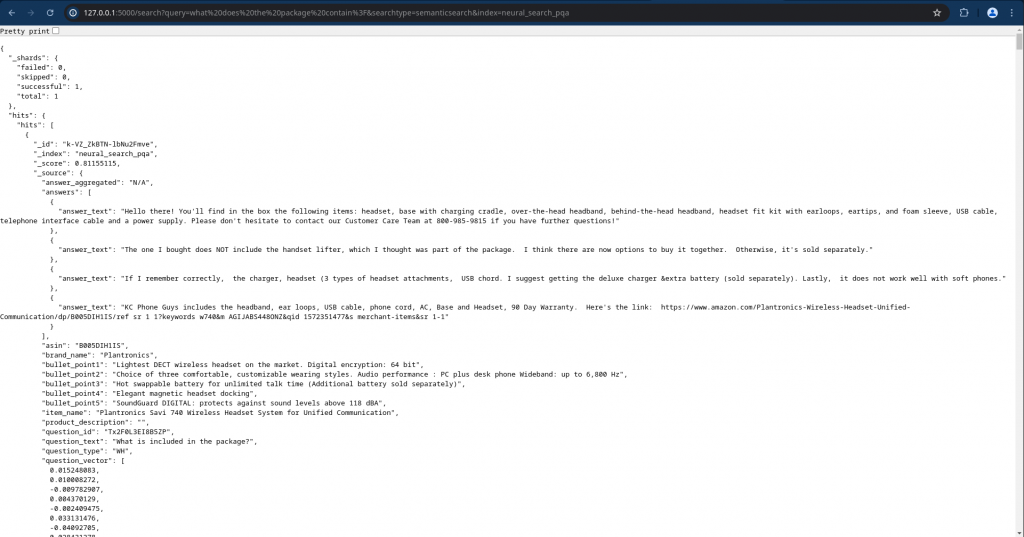
Let’s validate if the “/search” endpoint is able to send the semantic search query to the backend OpenSearch database.
URL: http://127.0.0.1:5000/search?query=what%20does%20the%20package%20contain%3F&searchtype=semanticsearch&index=neural_search_pqa
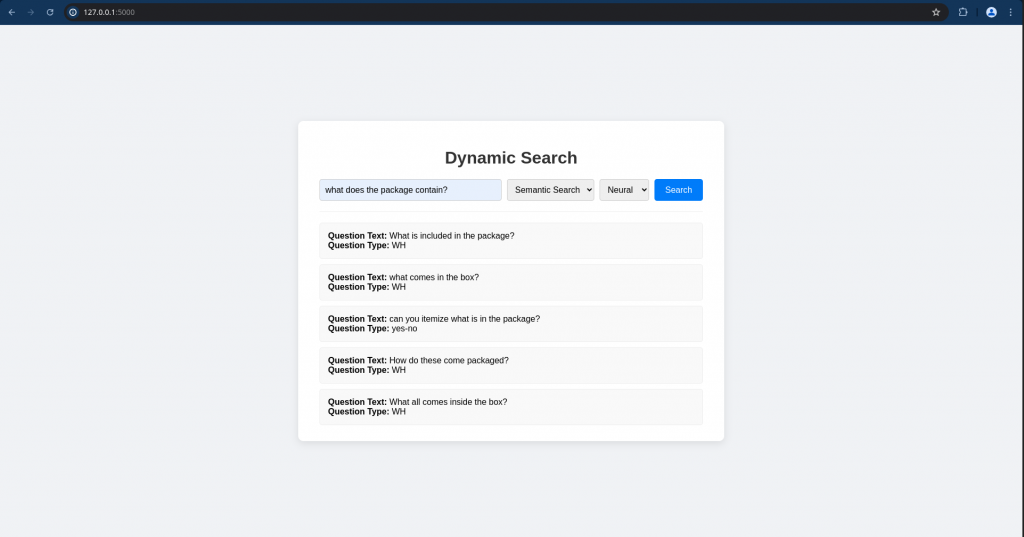
Now we can try to do the search using the UI application as shown below.
Try searching with fulltextsearch method and result will be as shown below.
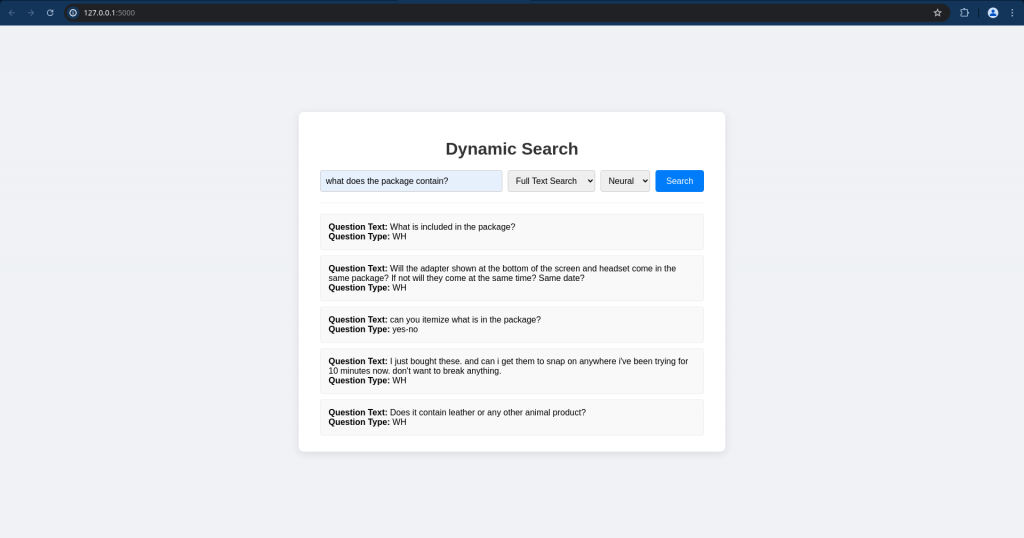
Now let’s try searching with semanticsearch method and result will be based on the context.
Hope you enjoyed reading this article. Thank you..
Leave a Reply
You must be logged in to post a comment.